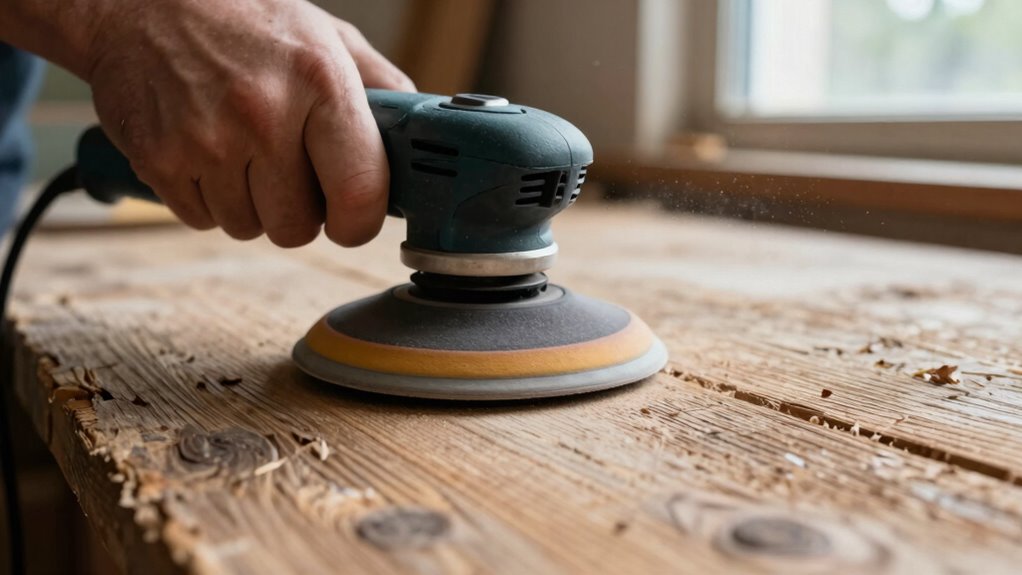

When sanding, it’s important to choose the right grit to get a smooth finish. Start with a coarse grit (40-60) to remove rough surfaces, then switch to medium (80-120) to shape your work. Finish with fine (180-220) or extra-fine grits for a polished look. Moving gradually from coarse to fine prevents scratches and guarantees a professional result. Keep exploring to learn more tips on picking the perfect grit for every project.

Get your wardrobe favorites delivered free — and shop member deals
- Fast, free delivery on millions of items
- Access to Prime Big Deal Days deals on October 6–7
- Prime Video, Amazon Music and more included
Key Takeaways
- Start with coarse grit (40-60) to remove rough surfaces and progress to finer grit (180-220) for a smooth finish.
- Use proper sanding techniques and moderate pressure to prevent scratches and ensure even results.
- Select the right grit based on project needs, gradually increasing grit to refine the surface.
- Wear safety gear like masks and eye protection to stay safe during sanding.
- Match the grit size to the desired finish, with finer grits for polishing and finishing touches.

Have you ever wondered how to achieve a smooth, professional finish on your woodworking or painting project? The secret often lies in understanding sanding basics, especially choosing the right grit and using proper tools. Before you start, it’s essential to prioritize sanding safety. Wear a dust mask or respirator to avoid inhaling fine particles, and always work in a well-ventilated area to keep dust from accumulating. Eye protection is also vital, as sanding can send tiny particles flying. Keeping your workspace clean and dust-free minimizes health risks and helps you work more efficiently. Additionally, using smart home technology like air purifiers can help improve air quality during your sanding projects. When it comes to sanding tools, there’s a variety to choose from, each suited for specific tasks. Hand sanders, like blocks and pads, are great for small, detailed areas or finishing touches. Power tools such as orbital sanders, detail sanders, or belt sanders speed up the process and give a more uniform surface. Selecting the right tool depends on the project’s size and the level of smoothness you desire. For example, hand sanding works well for delicate projects, while power sanders are perfect for large surfaces where time matters. Understanding grit is fundamental to achieving the desired finish. Sandpaper grit numbers range from coarse (around 40-60) to extra-fine (up to 2000+). Coarse grits are your go-to for removing rough surfaces, paint, or old finishes. Medium grits (80-120) are good for shaping and smoothing, while fine and extra-fine grits (180-220 and beyond) are used for finishing and polishing. Starting with a coarse grit helps remove imperfections quickly, but always move to finer grits gradually to avoid scratches and achieve a smooth, professional look. Knowing how to properly select grit sizes is crucial for optimal results and a flawless finish. Additionally, understanding the abrasion process can help you better predict how different grits will affect your final outcome. To ensure consistent results, it’s also helpful to familiarize yourself with sanding techniques and proper pressure application during the process.
As an affiliate, we earn on qualifying purchases.
Frequently Asked Questions
How Often Should I Replace My Sanding Paper?
You should replace your sanding paper when it becomes clogged, worn out, or no longer sands effectively, typically after several uses depending on the task. Pay attention to sandpaper longevity; as grit wears down, it loses efficiency. Reuse techniques, like cleaning with a vacuum or brushing off dust, can extend its life. Once grit is smooth or torn, it’s time to substitute the sandpaper to guarantee a quality finish.
Can I Reuse Worn-Out Sanding Discs?
You can often reuse worn-out sanding discs if they’re still in good condition, but it depends on their wear and dust collection efficiency. Check for clogged dust collection and loss of abrasive grit; if these issues occur, replace the disc to guarantee smooth sanding. Proper sanding accessories and effective dust collection help extend disc life, but don’t push worn-out discs too far, as they can affect your finish and safety.
What’s the Safest Way to Dispose of Used Sandpaper?
You should dispose of used sandpaper carefully to avoid dust hazards. First, brush off any dust and let it dry. Then, check local disposal methods—some areas allow recyclable paper, while others require trash disposal. Never burn used sandpaper, as it can release harmful fumes. Wrapping it in paper or placing it in a sealed bag minimizes dust hazards and guarantees safe disposal, helping protect your environment and health.
How Do I Prevent Scratches During Sanding?
To prevent scratches during sanding, you should use proper sanding techniques, such as applying even pressure and moving the sandpaper with the grain. Always wear protective gear like gloves and goggles to keep debris away. Start with a coarse grit and gradually switch to finer grits for a smooth finish. Keep the surface clean and avoid pressing too hard, ensuring a scratch-free, professional result.
Is There a Difference Between Dry and Wet Sanding?
Dry and wet sanding differ distinctly in abrasive materials and techniques. Dry sanding uses air and no water, ideal for faster, rougher finishes, while wet sanding employs water or lubricant to minimize dust and smooth surfaces delicately. Wet sanding helps reduce scratches, enhances polish, and cools surfaces, making it perfect for fine finishes. Choose your sanding technique based on your project’s precision needs and the material’s sensitivity.
Conclusion
Now that you know the grit guide inside and out, you’re ready to take on any sanding project with confidence. Remember, the right grit makes all the difference, and don’t be afraid to start slow—sometimes, slow and steady wins the race. Keep your sanding game sharp, and soon enough, you’ll turn rough surfaces into smooth masterpieces. With a little practice, you’ll find that everything falls into place, proving that patience is a virtue in DIY projects.
Fall Picks
fall essentials
As an affiliate, we earn on qualifying purchases.