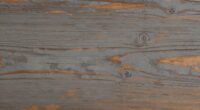
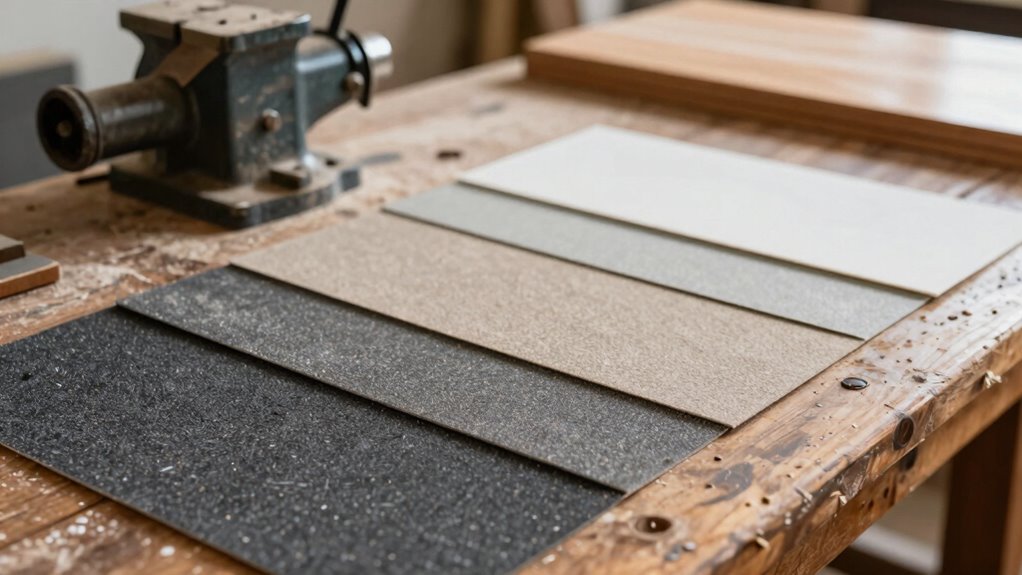
When refinishing furniture, understanding sanding grits helps you get a smooth, professional finish. Start with a coarse grit like 80 or 100 to remove old paint and rough spots. Then, progress to finer grits such as 150 or 220 for a sleek, even surface. Using the right grits at each stage guarantees better adhesion and a lasting finish. Keep going, and you’ll discover how to perfect your refinishing project step by step.
Key Takeaways
- Start with coarse grits (80-100) to remove old finish and rough spots, then progress to finer grits (150-220) for a smooth surface.
- Use the same grit or finer when sanding between coats to ensure a clean, even finish.
- Always sand with the wood grain to prevent scratches and swirl marks.
- Lightly scuff the surface with higher grit sandpaper for better paint or stain adhesion.
- Finish with a very fine grit (220) to achieve a polished, professional look.
Refinishing furniture can breathe new life into your old pieces, but it’s imperative to have a clear plan before you start. One of the first steps involves paint stripping, which removes old paint, stain, or finish that’s chipped or outdated. Using the right paint stripper is essential because it makes the subsequent wood preparation easier and more effective. When you apply paint stripper, be sure to follow the manufacturer’s instructions carefully—this guarantees safety and maximum results. Once the old finish is loosened, you can gently scrape it away with a putty knife or a plastic scraper, avoiding damage to the wood beneath. After removing the bulk of the old paint or stain, you’ll want to clean the surface thoroughly to eliminate any residue, dust, or grease. This step is critical because it creates a clean surface, allowing the new finish to adhere properly.
Wood preparation is a key part of refinishing, and it involves sanding to smooth out the surface and remove any remaining imperfections. Before you start sanding, inspect the furniture for rough patches, scratches, or dents, and repair them with wood filler if needed. Once the surface is smooth, you’ll choose the appropriate grit of sandpaper. Starting with a coarser grit, like 80 or 100, helps remove any stubborn finish and smooth out rough areas. Then, gradually move to finer grits, such as 220, to achieve a silky-smooth surface ready for staining or painting. Remember, the goal of wood preparation is to create an even, clean surface that’s free of dust, old finish, and imperfections. Proper preparation guarantees your new finish will look professional and last longer. Additionally, understanding sanding grits can help you select the right abrasive for each stage of your project. During sanding, always work with the grain of the wood to prevent scratches or swirl marks. Use a sanding sponge or block to maintain even pressure, and consider vacuuming or wiping down the surface frequently to keep dust from settling into the wood. If you’re planning to paint, make sure the surface is lightly scuffed and free of any glossy finish, which can prevent paint from sticking properly. For stain application, a smooth, clean surface is indispensable for even absorption. Taking the time to do proper paint stripping and wood preparation might seem tedious, but it sets the foundation for a beautiful, long-lasting refinished piece. When you approach these steps with care, your finished furniture will look polished, professional, and revitalized.
Frequently Asked Questions
What Types of Wood Are Best for Refinishing?
You should choose hardwoods like oak, maple, or cherry for refinishing, as their tight wood grain allows for smoother sanding and a polished finish. These types are known for their durability, making them ideal for furniture that gets regular use. Softwoods like pine or cedar can be refinished, but their porous nature and softer wood grain may lead to dents or scratches over time, affecting the overall look and longevity.
How Long Does Furniture Refinishing Typically Take?
Refinishing furniture usually takes a few days, depending on the project’s complexity. You’ll want to start with proper sanding using the right grit, then apply stain color selection carefully. Brush techniques matter too—use smooth, even strokes to avoid streaks. Allow ample drying time between coats, and don’t rush the process. With patience, your refinishing project will result in a beautifully restored piece that looks professional.
Can I Refinish Furniture Without Sanding?
You can refinish furniture without sanding by using paint stripping and cleaning thoroughly first. Removing old paint or finish with chemical strippers makes the surface smoother and prepares it for new paint or stain. Also, consider replacing hardware for a fresh look. While skipping sanding speeds things up, keep in mind that a well-prepared surface leads to better adhesion and a more professional finish.
What Safety Gear Is Recommended During Sanding?
Imagine dust particles dancing in the air like tiny stars; you need protection from them. You should wear a respirator mask to prevent inhaling harmful dust and protective gloves to safeguard your skin. These safety gear pieces are essential for your safety during sanding. They keep dust out of your lungs and off your hands, making your project safer and more comfortable. Always prioritize safety when dust is flying around.
How Do I Choose the Right Finish for My Furniture?
You should consider your desired look and use wood stain options that match your style when choosing a finish. For protection, pick a suitable protective topcoat like polyurethane, lacquer, or wax, depending on how durable you need it. Think about the furniture’s use and environment, then select a finish that enhances the wood grain and provides the right level of protection, ensuring your piece stays beautiful and well-preserved.
Conclusion
Now that you know the basics of sanding grits, you’re ready to tackle furniture refinishing with confidence. Remember, using the right grit at each stage can make your project smoother and more professional-looking. Did you know that proper sanding can increase furniture lifespan by up to 50%? Keep your workspace clean, follow the grit guide, and enjoy transforming your furniture into beautiful, lasting pieces. Happy refinishing!