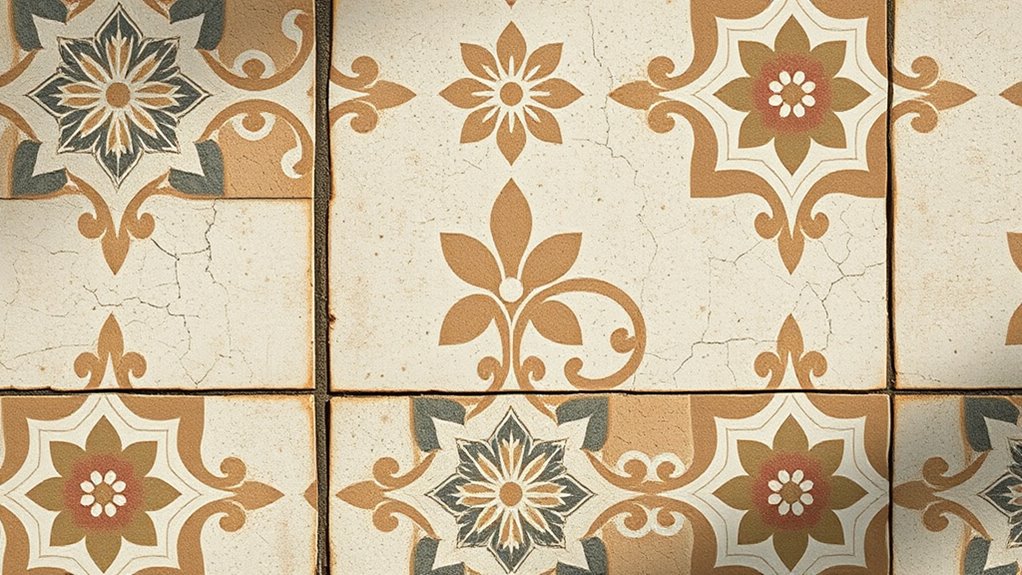

To regrout vintage-pattern tiles without losing their patina, carefully assess the current state of your grout and tiles. Choose traditional, breathable materials like lime or sand-based grout, avoiding modern formulas that can damage the surface. Use gentle tools and apply the new grout sparingly, opting for subtle colors that complement the aged look. Regular, delicate cleaning and proper sealing will help preserve the charm—continue exploring for detailed techniques to maintain your tiles’ authentic character.
Key Takeaways
- Use breathable, lime or sand-based grout to match original materials and preserve the tile’s vintage patina.
- Carefully remove old grout with gentle tools, testing in small areas to avoid damaging tiles.
- Apply new grout sparingly with a small rubber float, avoiding overfilling joints to maintain authentic appearance.
- Clean with pH-neutral, non-abrasive products to protect the patina during and after regrouting.
- Seal the grout with a breathable, high-quality sealant to prevent moisture damage while preserving the vintage look.
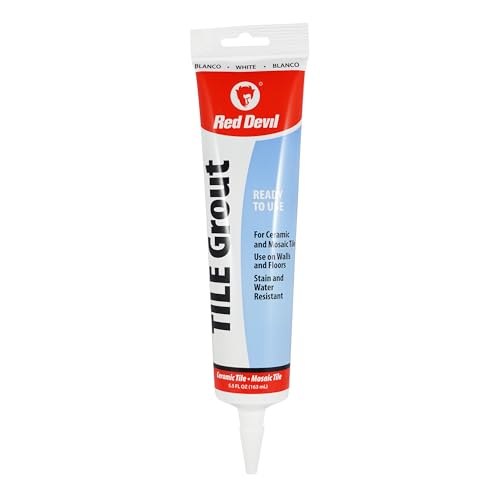
Red Devil 0425 Pre-Mixed Tile Grout – Professional Quality, Excellent Adhesion, Ideal for Wall & Floor Use – 5.5 oz, White, Made in USA
- Adheres to all tile types: Excellent adhesion to ceramic and mosaic tiles
- Suitable for walls and floors: Use on tile, masonry, wood, and wallboard
- User-friendly consistency: Easy to apply and work with
As an affiliate, we earn on qualifying purchases.
As an affiliate, we earn on qualifying purchases.
Assessing the Condition of Your Vintage Tiles and Grout
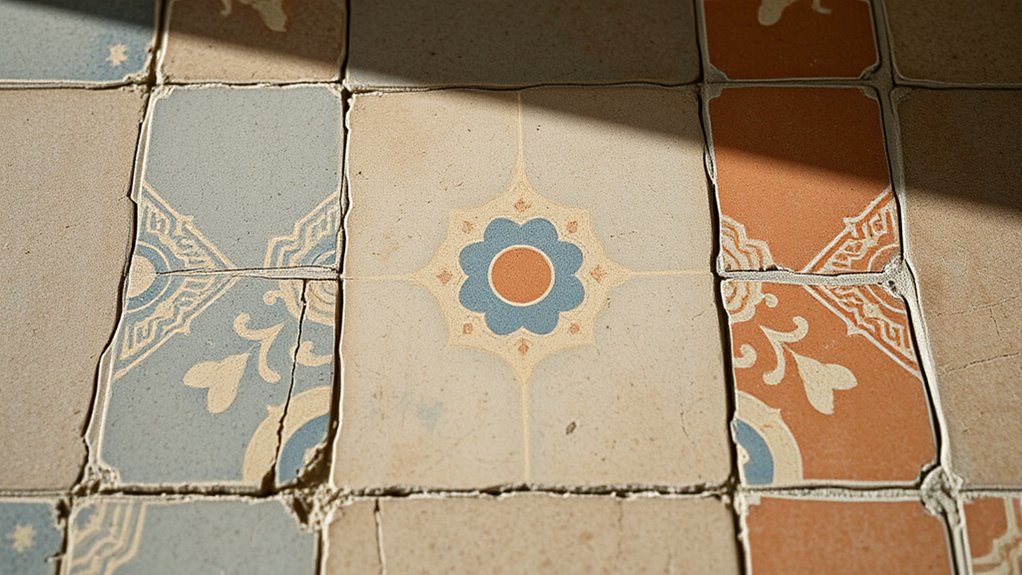
Before you begin regrouting, it’s essential to evaluate the current condition of your vintage tiles and grout. Look closely at the grout lines—are they cracked, crumbling, or missing in places? If so, you might already have loose tiles or water seeping underneath, which could cause future damage. Check the tiles’ surface for chips, cracks, or unevenness that might affect the regrouting process. Also, consider the overall integrity of the grout; if it’s heavily stained or deteriorated, it might need more than just cleaning before regrouting. Remember, understanding the extent of the damage helps you determine whether you should repair or replace certain tiles first. A thorough assessment ensures your regrouting project preserves the vintage charm without risking further harm.
Choosing the Right Materials to Preserve Patina

When selecting materials for regrouting vintage tiles, focus on authentic, gentle options that match the original look. Using the right cleaning techniques helps preserve the tile’s natural patina without causing damage. This careful approach guarantees your tiles retain their character and charm for years to come. Additionally, choosing a wide color gamut in your regrouting materials can help maintain the vividness and depth of the original tile design. Incorporating proper cleaning techniques can further ensure that the patina remains intact during maintenance. Practicing mindful decluttering strategies by regularly assessing and maintaining your workspace can also facilitate a more controlled and careful restoration process, especially when working with diverse materials to match the original aesthetic. Recognizing the importance of attention in creative practice can inspire more meticulous care during restoration, ensuring the preservation of the tiles’ unique character.
Authentic Material Selection
Selecting the right materials is essential for maintaining the authentic look of vintage-pattern tiles. You should choose grout that closely matches the original in color, texture, and composition. Use natural materials like lime-based or sand-based grouts, which age gracefully and blend seamlessly with aged tiles. Avoid modern cement or epoxy grouts that may look out of place or damage the tile’s patina over time. When selecting materials, also consider their permeability; breathable grout allows moisture to escape, preventing damage. Test small samples to ensure color match and compatibility. Using authentic materials not only preserves the visual integrity of your vintage tiles but also supports the overall longevity and historical accuracy of your restoration. Incorporating traditional techniques can further enhance the preservation process and ensure the tiles age beautifully. Additionally, understanding the properties of natural materials can help you choose the most suitable grout for your specific tiles and environment.
Gentle Cleaning Techniques
Choosing the right cleaning materials is essential for preserving the delicate patina of vintage-pattern tiles. You should opt for gentle, non-abrasive cleaners that won’t strip away the tiles’ character. Mild soaps or pH-neutral solutions work best, as they clean without causing damage. Avoid harsh chemicals, acids, or abrasive scrubbers that can erode the surface or dull the vintage look. Use soft cloths, sponges, or brushes with gentle bristles to remove dirt and grime carefully. Test any new cleaning product on a small, inconspicuous area first. Regular, light cleaning helps maintain the tiles’ appearance while safeguarding their historic charm. Being aware of patterns of behavior in maintenance routines can help prevent accidental damage and preserve the integrity of the tiles over time. By choosing appropriate materials and techniques, you can effectively clean your vintage tiles without compromising their unique patina.
Preparing the Surface for Regrouting
Before you start regrouting vintage-pattern tiles, it’s essential to prepare the surface thoroughly. Begin by inspecting the tiles and grout lines for dirt, debris, and loose material. Use a soft brush or vacuum to remove surface dust and loose particles. Next, clean the tiles with a gentle, pH-neutral cleaner to eliminate grime without damaging the patina. Rinse thoroughly and let the surface dry completely. If any grout residue remains, lightly scrub with a soft brush or sponge, avoiding harsh abrasives. Make certain the surface is dry and free of any oils or residues that could prevent new grout from adhering properly. Proper surface prep creates a clean, stable foundation, ensuring the new grout bonds effectively while preserving the vintage look. Additionally, understanding tuning techniques can help you optimize your approach for specific tile materials and conditions. Using the right vacuum cleaner performance metrics, such as suction power and filtration, can also aid in maintaining your workspace during the cleaning process. Recognizing the importance of surface cleanliness ensures long-lasting and authentic results in your regrouting project. Incorporating knowledge of appliance maintenance plans can also be beneficial if your workspace involves tools or equipment requiring regular upkeep, contributing to a more efficient project. Furthermore, maintaining a clean workspace with proper tool organization can help prevent accidental damage to delicate vintage tiles.
Removing Old Grout Carefully to Avoid Damage
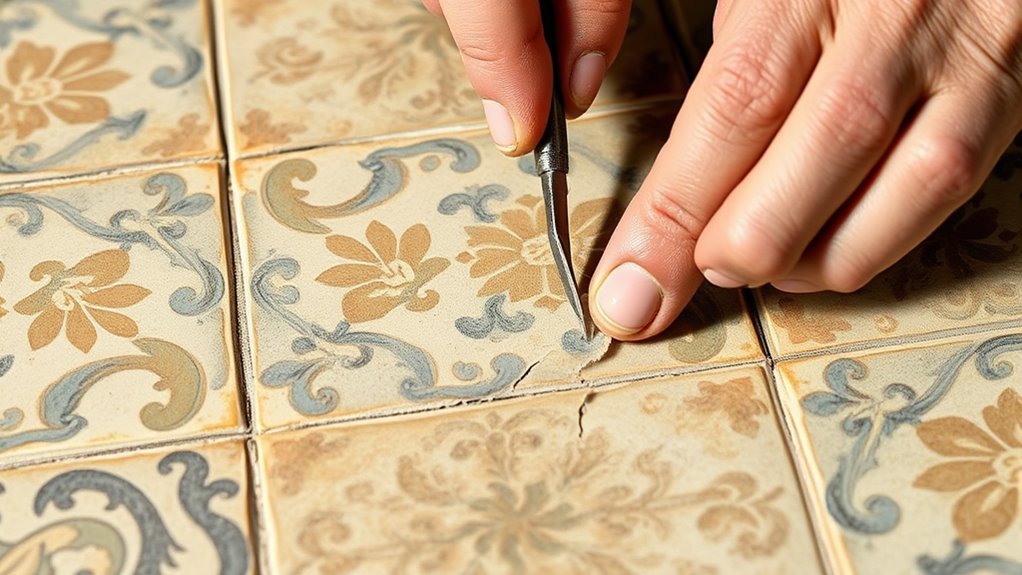
When removing old grout, use gentle tools like a plastic scraper to prevent damaging the tiles. Avoid abrasive cleaners that could scratch or weaken the vintage surface. Before starting, test your grout removal method on a small area to make certain it won’t cause harm.
Use Gentle Tools
To prevent damaging your vintage-pattern tiles, using gentle tools when removing old grout is vital. You want to work carefully so the tile surface and patina stay intact. Start with a fine, pointed tool like a plastic grout remover or a wooden pick to loosen grout without scratching the tiles. A light touch is essential to avoid applying excessive pressure that could crack or chip the tiles. Here are three essential tools:
- Plastic grout remover or spatula
- Wooden or nylon scrapers
- Soft brushes or toothbrushes
Use these tools gently, applying light pressure. Avoid metal tools that can scratch or chip the tiles. Patience is key; work slowly to lift grout without disturbing the tile’s surface or pattern. Properly chosen tools make all the difference in preserving your vintage tiles’ beauty.
Avoid Abrasive Cleaners
Using abrasive cleaners can easily damage vintage-pattern tiles, so it’s essential to avoid them during grout removal. These harsh products can scratch or dull the delicate surface, ruining the tile’s patina and historical charm. Instead, opt for gentle, pH-neutral cleaners or simply use warm water and a soft brush to loosen grout. Avoid powders, scouring pads, or any abrasive scrubbing tools that might scratch the tile’s surface. If you need to clean stubborn residues, test a small area first to guarantee no damage occurs. Remember, preserving the tile’s original finish is key to maintaining its vintage appeal. By steering clear of aggressive cleaners, you protect both the tile and its aging character. Always prioritize gentle methods to keep your vintage-pattern tiles looking authentic and beautiful.
Test Grout Removal First
Before you start removing grout, it’s wise to test a small, inconspicuous area first. This helps you gauge how your tiles and patina will react. To do this effectively:
- Use a grout saw or a small, handheld tool to gently scrape a tiny section.
- Observe how easily the grout comes away and whether the tiles show any signs of damage.
- Adjust your technique or tools if you notice any issues, before tackling the main area.
- Consider the types of filters in your cleaning tools to prevent damage or residue buildup during testing. Additionally, choosing the right storage methods for your tools can help maintain their effectiveness and longevity during the project.
Performing this test ensures you won’t accidentally harm your vintage tiles or strip away valuable patina. Taking careful, measured steps preserves the overall look and integrity of your vintage pattern. It’s a simple step that saves time and prevents costly mistakes later on.
Selecting Techniques for Applying New Grout Without Overdoing It

Applying new grout requires a careful touch to avoid overdoing it and compromising the vintage look of your tiles. Use a small, angled rubber float to apply the grout sparingly, pressing it into the joints with controlled pressure. Work in small sections to prevent excess grout from spreading onto the tiles’ surfaces. Wipe away excess grout immediately with a damp sponge, being gentle to avoid disturbing the existing patina. Avoid overfilling the joints; aim for a flush, even surface that highlights your pattern without overwhelming it. Take your time and check your work frequently. Remember, less is more—it’s better to add a little at a time than to try to fix over-application later. Patience and precision protect your tiles’ vintage charm. Energetic alignment can also be applied to your project by visualizing the perfect outcome and maintaining a positive mindset throughout the process.
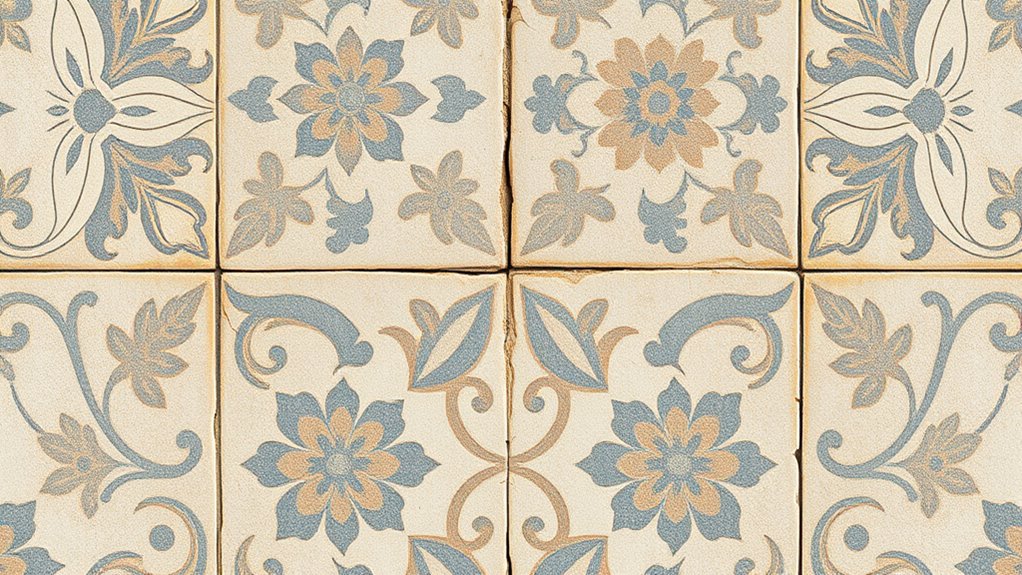
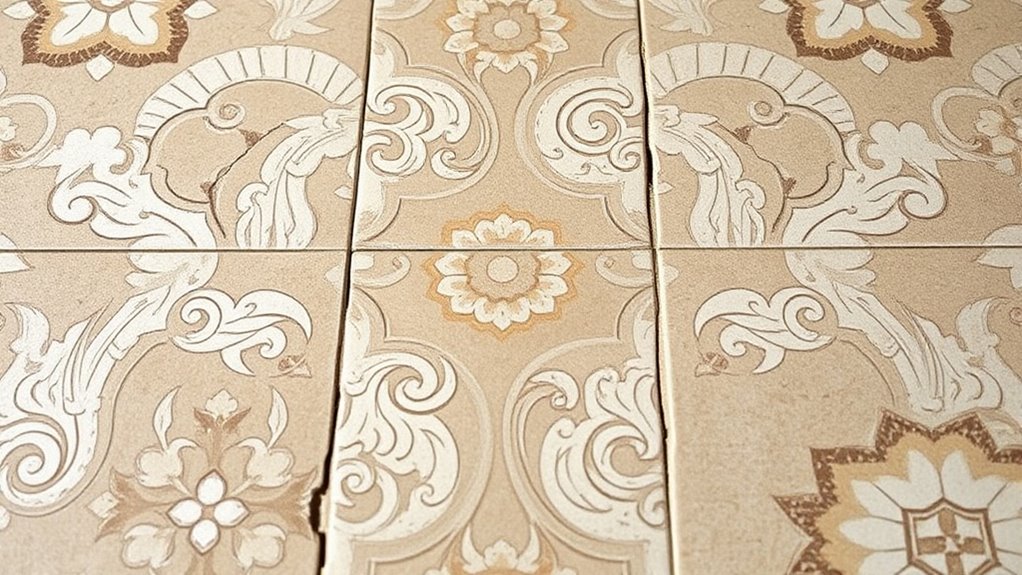
Using Color and Texture to Complement the Vintage Pattern

Choosing the right grout color and texture can beautifully enhance the vintage pattern of your tiles. The goal is to select options that highlight the design without overpowering it.
- Opt for a subtle, neutral hue like beige or light gray to blend seamlessly with aged tiles, preserving their patina. These colors are less likely to draw attention away from the pattern and help maintain an authentic vintage look.
- Use textured grout to add depth, matching the rough or matte surface of vintage tiles for a harmonious look. Incorporating grout texture can help create a more authentic and tactile finish that complements the age and character of the tiles. Understanding zodiac compatibility can also inspire color choices that resonate with your personal style and the vintage aesthetic.
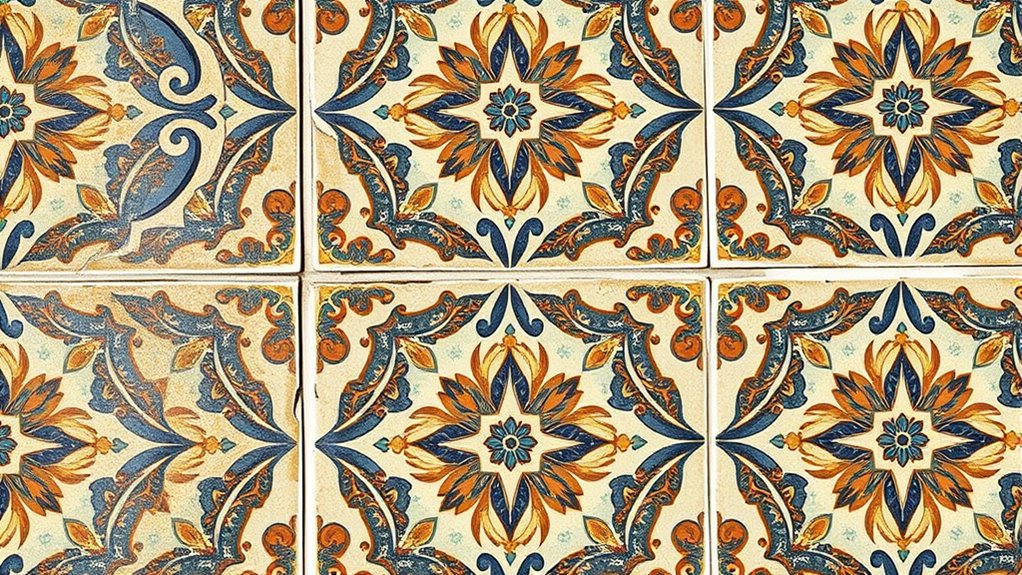
- Consider slightly contrasting colors if you want the pattern to stand out, but avoid bright or modern shades that clash with the timeless feel.
- Incorporate industry trends by balancing color and texture to create a cohesive and inviting space. Staying updated on design trends can help you choose grout options that are both stylish and suitable for vintage aesthetics.
Cleaning and Sealing to Protect the Patina Post-Regrouting

After regrouting your vintage tiles, proper cleaning and sealing are essential to protect their delicate patina. Begin by gently removing any grout residue and dirt with a soft brush and a pH-neutral cleaner to avoid damaging the surface. Rinse thoroughly and let the tiles dry completely. Once dry, apply a high-quality, breathable sealant designed for vintage or porous tiles. This creates a protective barrier against moisture, stains, and dirt without altering the tile’s appearance or patina. Choosing the right sealant is crucial to ensure the preservation of the tile’s authentic look. Be careful to follow the manufacturer’s instructions and avoid over-application, which could obscure the vintage look. Regular cleaning with gentle, non-abrasive products will keep the tiles looking authentic, while the sealant preserves their character and prevents deterioration over time.
Tips for Maintaining the Authentic Look After Regrouting
Maintaining the authentic appearance of your vintage tiles requires ongoing care that respects their unique character. To keep the patina intact after regrouting, follow these tips:
- Regularly clean with gentle, pH-neutral cleaners to prevent dirt buildup that can dull the tiles’ charm.
- Avoid harsh scrubbing or abrasive tools that might damage the grout lines or tile surfaces.
- Seal the grout periodically with a breathable, matte finish sealer to prevent stains while preserving the aged look.
Common Mistakes to Avoid When Regrouting Vintage Tiles
Regrouting vintage tiles can enhance their beauty, but rushing the process or using the wrong techniques can quickly ruin their charm. One common mistake is using harsh chemicals or overly aggressive tools that damage the tiles or erode the grout lines, losing the patina you want to preserve. Another error is applying too much grout or not cleaning excess material promptly, which can cause discoloration and a messy finish. You should also avoid rushing drying times; skipping this step can lead to weak grout that cracks easily. Additionally, neglecting to match the new grout color with the original can disrupt the vintage look. Always test a small area first, take your time, and handle each step carefully to maintain the authentic character of your vintage tiles.
Frequently Asked Questions
How Can I Identify if My Vintage Tiles Are Too Fragile for Regrouting?
You wonder if your vintage tiles are too fragile for regrouting. To find out, gently tap the tiles—if they sound hollow or crack easily, they might be too delicate. Inspect for crumbling grout or loose tiles, which indicate fragility. Avoid aggressive scraping or heavy grouting. Instead, consider consulting a professional to assess the structural integrity, ensuring you preserve the tiles’ beauty without causing damage.
Are There Eco-Friendly Grout Options Suitable for Preserving Patina?
You want eco-friendly grout options that help preserve your vintage tiles’ patina. Look for natural or low-VOC (volatile organic compound) grout products made from sustainable materials. These options are less harsh and better for the environment, ensuring your tiles stay beautiful and authentic. Always check product labels for eco-certifications and compatibility with delicate or historic tiles. Using gentle, sustainable grout helps protect your tiles’ charm while being environmentally responsible.
How Long Should I Wait Before Walking on Newly Regrouted Vintage Tiles?
You’re enthusiastic to walk on your newly regrouted tiles, but rushing could undo all your hard work! Usually, it’s best to wait at least 24 to 48 hours before stepping on them. This allows the grout to cure properly, ensuring it sticks like glue and keeps your vintage patina intact. Patience is key—think of it as giving your tiles a chance to set their perfect, timeless look.
Can I Regrout Vintage Tiles Myself, or Should I Hire a Professional?
You can regrout vintage tiles yourself if you’re comfortable with basic DIY tasks and have the right tools. However, if the tiles are delicate or the pattern intricate, hiring a professional might be best to avoid damage and guarantee a seamless finish. Consider your experience and the project’s complexity before deciding. Doing it yourself saves money but requires patience and care to preserve the tile’s beauty.
What Are the Best Tools for Delicate Grout Removal Around Vintage Tiles?
Delicate detail demands the right tools. To carefully remove grout around vintage tiles, grab a precision grout saw or a fine-tipped rotary tool with a grout removal attachment. A gentle hand and patience are your best allies, so avoid harsh scrapers that could damage the patina. Use small, controlled motions to prevent chipping. With these tools and techniques, you’ll preserve your tiles’ timeless charm while making precise repairs.
Conclusion
Regrouting vintage tiles is a delicate dance between preservation and renewal. When you choose the right materials, prepare carefully, and apply techniques thoughtfully, you’ll find that the patina remains charmingly intact. With patience and attention, you’ll notice how the new grout enhances the pattern without overshadowing its history. It’s a process that, when done right, reveals the beauty of the past while making your space feel fresh—proof that careful care truly makes the difference.