
If your wallpaper seams are showing, it’s best to fix them early before they worsen. Carefully lift the edges, apply fresh adhesive underneath, and press the seams back into place with a smoothing tool. Proper wall preparation and correct installation techniques help prevent this issue from recurring. Taking these steps now can restore a seamless look and prevent future problems. Keep going to discover more tips on achieving a flawless finish and maintaining your wallpaper’s beauty.
Key Takeaways
- Inspect seams carefully to identify whether lifting or misalignment caused the visible gaps.
- Gently lift the affected edges, then reapply adhesive underneath to secure them properly.
- Press seams back into place smoothly with a wallpaper smoothing tool to eliminate bubbles and gaps.
- Ensure the wall surface was properly prepared before installation to prevent future seam issues.
- Use high-quality adhesive and proper installation techniques to minimize the risk of seams showing over time.

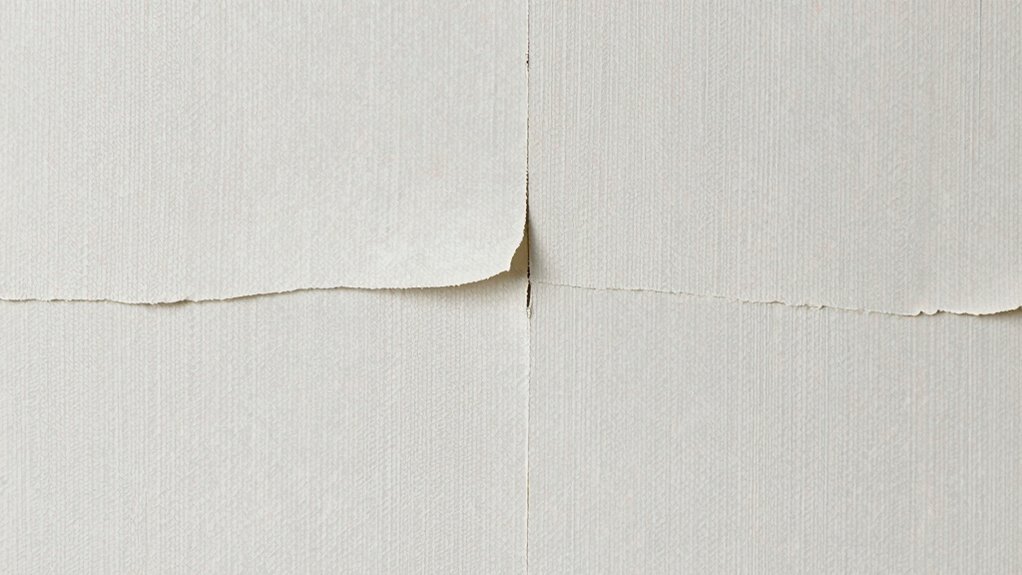
Have you ever noticed visible seams where two pieces of wallpaper meet? It’s a common issue that can make even a perfectly applied wall look unprofessional. But don’t worry—these seams can often be fixed, and the key to a flawless finish starts with understanding wallpaper seam repair. Properly addressing seams ensures your wallpaper looks smooth and seamless, preventing minor flaws from turning into bigger problems down the line.
Visible wallpaper seams can be fixed to achieve a smooth, professional look.
When seams start to show, it’s usually because of poor installation, shifting of the wall, or the use of wallpaper that doesn’t match the wall’s texture or pattern properly. To fix this, you’ll want to carefully inspect each seam to determine the cause. Sometimes, the edges of the wallpaper may have lifted, or the adhesive underneath might have dried out or wasn’t adequate initially. Repairing these seams involves gently lifting the edges, applying fresh adhesive, and pressing them back into place with a wallpaper smoothing tool. Be sure to work slowly and carefully to avoid tearing the paper or creating new bubbles. Additionally, understanding how to properly prepare the wall surface can greatly reduce seam visibility from the start.
Choosing seamless wallpaper can considerably reduce the chances of seams showing in the first place. Seamless wallpaper is designed with continuous patterns or materials that allow for longer strips, minimizing the number of seams you need to handle. When selecting wallpaper, look for options labeled as “seamless” or with a pattern that can be matched easily across strips. This type of wallpaper helps create a more uniform appearance and reduces the need for complicated seam repairs later. If you’re working on a large wall or an area where seams are unavoidable, opting for seamless wallpaper is a smart move that saves you time and effort and produces a more professional finish.
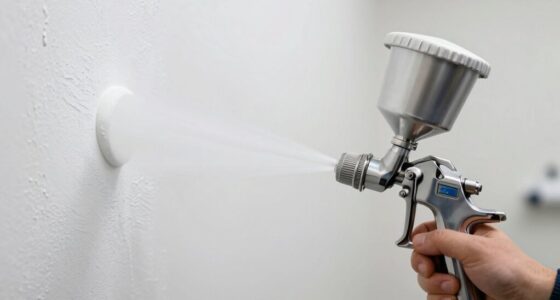
In addition to choosing the right wallpaper, proper installation techniques play a crucial role in preventing visible seams. Make sure to measure accurately, align patterns carefully, and use a high-quality adhesive suitable for your wallpaper type. When applying wallpaper, smooth each strip thoroughly with a wallpaper brush or squeegee to eliminate air bubbles and ensure good adhesion along the seams. If you notice seams starting to lift or show after installation, don’t hesitate to perform a quick repair—reapplying adhesive and pressing down the edges can often restore the seamless look you initially aimed for.
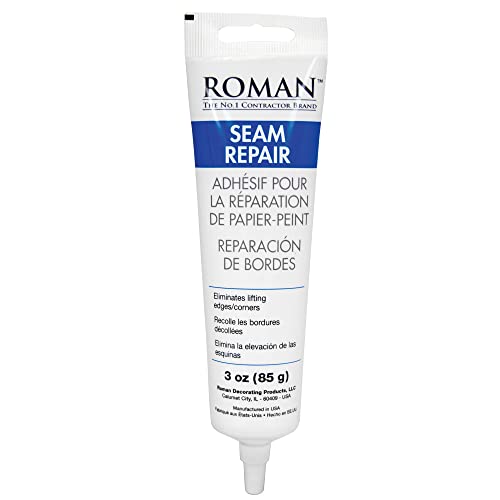
Roman Seam Repair Adhesive – Sealer for Wallpaper Tears and Loose or Overlapping Edges – White, 3 Ounce Tube with Applicator Nozzle
- Versatile Wallpaper Repair: Fix tears, edges, and seams
- Suitable for All Wallpaper Types: Ideal for kitchens, bedrooms, bathrooms
- Easy to Use: Simple application for all skill levels
As an affiliate, we earn on qualifying purchases.
As an affiliate, we earn on qualifying purchases.
Frequently Asked Questions
Can Wallpaper Seams Be Fixed After Drying Completely?
Yes, wallpaper seams can be fixed after drying completely. You should carefully perform seam repair by gently lifting the edges and applying a small amount of wallpaper adhesive or seam filler. Sometimes, wallpaper stretching slightly while the adhesive is still workable helps blend the repaired seam. Be patient and precise to avoid damaging the wall or causing further separation. Properly fixing seams guarantees a smooth, professional look without visible flaws.
What Tools Are Best for Sealing Wallpaper Seams?
You can effectively seal wallpaper seams with a seam repair tool, like a seam roller, and high-quality adhesive. Using a seam roller ensures proper adhesive application and smooths out the seam for a tight finish. Don’t worry if seams are showing; with these tools, you can fix them easily and prevent future peeling. Just press firmly and reapply adhesive where needed, and your wall will look seamless again.
How Do Humidity Levels Affect Wallpaper Seam Visibility?
High humidity impacts wallpaper seam visibility by causing the adhesive to loosen or expand, making seams more noticeable. When humidity levels fluctuate, seams can shift or bubble, increasing their visibility. To prevent this, maintain consistent humidity levels, ideally between 40-60%, using a dehumidifier or air conditioner if needed. Keeping humidity stable minimizes seam visibility, ensuring your wallpaper stays smooth and seamless for a polished look.
Are There Specific Wallpapers That Hide Seams Better?
Did you know that textured patterns and seamless designs are 50% better at hiding seams? If you’re concerned about visible seams, opt for wallpapers with seamless designs or textured patterns, which blend effortlessly and disguise any imperfections. These choices create a more cohesive look, making seams less noticeable. Choosing the right wallpaper can save you time and frustration, ensuring your wall looks flawless without constant touch-ups.
How Long Does It Take for Seam Adhesive to Set Properly?
Seam adhesive drying time varies, but typically, you should wait at least 24 hours for proper wallpaper seam repair. During this period, avoid touching or applying pressure to the seams to ensure the adhesive sets correctly. Factors like humidity and temperature can influence drying time, so maintain a consistent environment. For the best results, follow the adhesive manufacturer’s instructions, and give it ample time before evaluating the seam’s durability.
Conclusion
Don’t let visible wallpaper seams turn your wall into a disaster zone. With a little patience and the right techniques, you can fix those seams and make your wall look flawless—like a professional decorated it. Ignoring them only risks turning your space into an eyesore that screams for attention. Take action now, because if you don’t, those seams will multiply faster than weeds in a garden, ruining your room’s entire vibe. Fix it today and enjoy that perfect finish!