
To create a Moroccan tile look on a budget, pick detailed yet affordable stencils that mimic traditional geometric and floral patterns. Start by properly prepping your surface, then use durable, weather-resistant paints with clean techniques for crisp lines. Seal with a protective coat for lasting beauty. This DIY approach transforms dull surfaces into stunning Moroccan-inspired features without expensive tiles. Keep exploring to discover step-by-step tips that will help you achieve professional results easily.
Key Takeaways
- Use high-quality, flexible mylar stencils with intricate Moroccan patterns for authentic, detailed designs.
- Properly prep surfaces with cleaning, filling, sanding, and priming for smooth, long-lasting paint application.
- Apply thin, even coats of weather-resistant semi-gloss or satin paint with brushes or sprayers for crisp, professional results.
- Seal finished surfaces with a durable, water-resistant topcoat to protect against stains, scratches, and UV damage.
- Customize with bold colors, layered patterns, or metallic accents for a luxurious Moroccan tile effect on a budget.
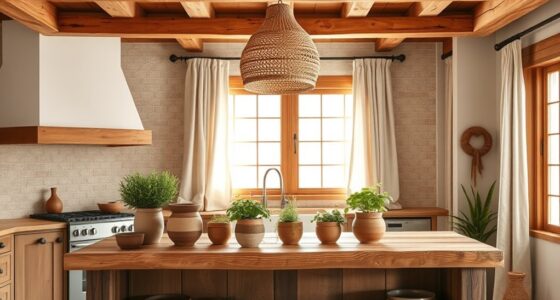
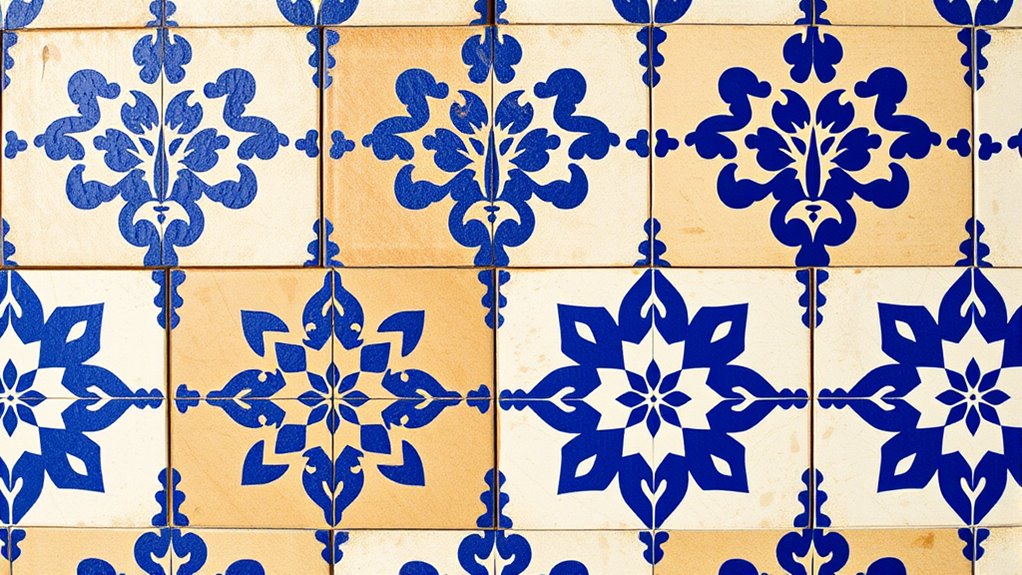
Choosing the Perfect Moroccan Style Stencils for Your Space
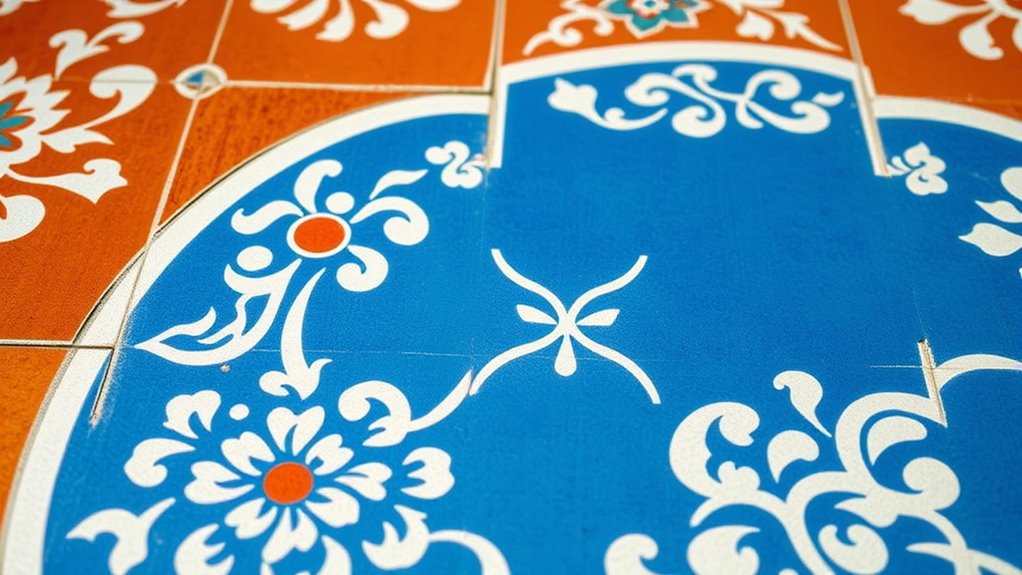
When selecting Moroccan style stencils for your space, it’s important to contemplate the overall aesthetic you want to achieve. Moroccan tile designs often feature intricate geometric patterns like stars, medallions, and tessellations, perfect for decorative painting projects. Choose stencils for painting that showcase popular motifs such as Zahara Moroccan, Arabesque, or Moorish styles to create authentic looks. Tile stencils come in various sizes, from small accents to large repeating patterns, giving you flexibility for floors, backsplashes, or accent walls. High-quality stencils made from durable, flexible mylar ensure crisp, clean designs and can be reused multiple times. Combining different Moroccan stencil patterns and bold or subtle colors allows you to customize your space with an eye-catching, traditional aesthetic. Additionally, understanding the decorative painting techniques used in Moroccan design can help you achieve a more genuine and captivating result. Exploring local water parks can also inspire vibrant color choices and playful patterns for your project. To maintain an organized workspace during your project, consider implementing maximized space and organization strategies to keep your supplies accessible and clutter-free. Incorporating vetted products for safety and effectiveness can further ensure your project is successful and durable. Furthermore, acquiring skills in AI training jobs can offer additional opportunities for creative projects involving digital design and customization.
Preparing Your Surface for a Flawless Stenciling Experience

To achieve a flawless stenciling result, you need to start with a well-prepared surface. Begin by thoroughly cleaning the area with a mild detergent to remove dirt, grease, and dust. Next, repair any cracks or holes with filler, then sand smoothly for an even base. Applying a high-quality primer like Stix is essential; it creates an adhesive, smooth surface that promotes even paint application and prevents peeling. Let the primer cure for at least 24 hours, then lightly sand to remove brush marks or raised edges, ensuring a flawless finish. Proper surface preparation guarantees your stencil will adhere well and look professionally done. Additionally, choosing the right surface preparation techniques can significantly enhance the longevity and appearance of your stenciled design. Using a primer that provides a good bonding surface can further improve durability and prevent future peeling or chipping, especially since quality educational toys often undergo rigorous safety testing to ensure safe play environments. Incorporating cleaning and maintenance practices after stenciling can help preserve your design and maintain a fresh appearance over time. Moreover, selecting the appropriate nail styles can complement your overall decor by adding subtle accents to your space.
Selecting the Right Paints and Tools for Durable Results
Choosing the right paints and tools is key to ensuring your stenciled surfaces last. Opt for weather-resistant, semi-gloss or satin paints, and use quality brushes or rollers for smooth application. Don’t forget to seal your work with a water-resistant topcoat to protect it from wear and moisture. Incorporating color accuracy techniques can also enhance the durability and visual appeal of your design. Additionally, selecting paints with suitable properties can prevent issues like bitter taste of green tea, ensuring your project remains vibrant over time. Proper preparation and understanding of paint adhesion can further increase the longevity of your stencil work.
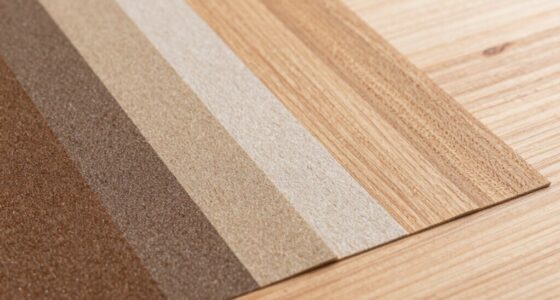
Choosing Weather-Resistant Paint
Selecting the right weather-resistant paint is essential for ensuring your stenciled floors or backsplashes withstand moisture, UV exposure, and daily wear. Use high-quality, water-based latex or acrylic paints formulated for outdoor or high-moisture areas. Opt for matte or eggshell finishes to reduce glare and enhance the realism of your design. Before painting, apply a bonding primer like Stix to improve adhesion and prevent chipping. After completing your stencil, seal the surface with a weather-resistant polyurethane or floor lacquer to protect against moisture, UV rays, and wear. Here’s a quick guide:
| Paint Type | Finish | Sealant Type |
|---|---|---|
| Latex | Matte | Polyurethane |
| Acrylic | Eggshell | Floor Lacquer |
| Weather-resistant | Satin | Sealant |
This combination guarantees durability and a professional look. Regular maintenance and proper surface preparation are also key factors in ensuring the longevity of your project. Additionally, choosing durable survival gear for outdoor projects can help protect your tools and materials from the elements during application. Proper ventilation during application is also important to ensure safety and proper drying. Using weather-resistant paints designed specifically for outdoor use can significantly extend the lifespan of your design, especially in areas exposed to harsh conditions.
Selecting Proper Brushes and Rollers
Using the right brushes and rollers can make a significant difference in achieving crisp, clean stenciled floors or backsplashes. To guarantee smooth paint application and crisp lines, consider these essentials:
- Choose high-quality, angled synthetic brushes for detailed edges and tight corners.
- Use foam rollers designed for smooth, even paint application on flat surfaces.
- For intricate patterns, a small detail brush helps fill in tight spaces precisely.
- Apply paint using a tapping or dabbing motion instead of brushing, which prevents bleeding under the stencil.
These tools help you avoid paint bleeding and achieve sharp, professional-looking results. Proper brushes and foam rollers are key to making your Moroccan tile look stand out, ensuring durability and a flawless finish that lasts.
Applying Sealing for Longevity
To guarantee your stenciled floors or backsplashes stay vibrant and durable over time, applying the right sealant is essential. Use a high-quality, water-based polyurethane sealant to provide strong protection against moisture, scratches, and wear. Apply multiple thin coats with a brush or roller, allowing proper drying time between each coat to ensure a smooth, even finish. Choose a sealant with UV resistance if your surface is exposed to sunlight, preventing fading and discoloration. Pair this with durable latex or acrylic paints formulated for flooring or high-traffic areas to maintain the vibrancy of your design. Following the manufacturer’s instructions carefully to maximize adhesion, protection, and overall durability, ensuring your stenciled surface remains beautiful and long-lasting. Incorporating sealing techniques proven to enhance surface longevity can further ensure the durability of your project, especially when considering the impact of artistic complexities and the need for long-term preservation.
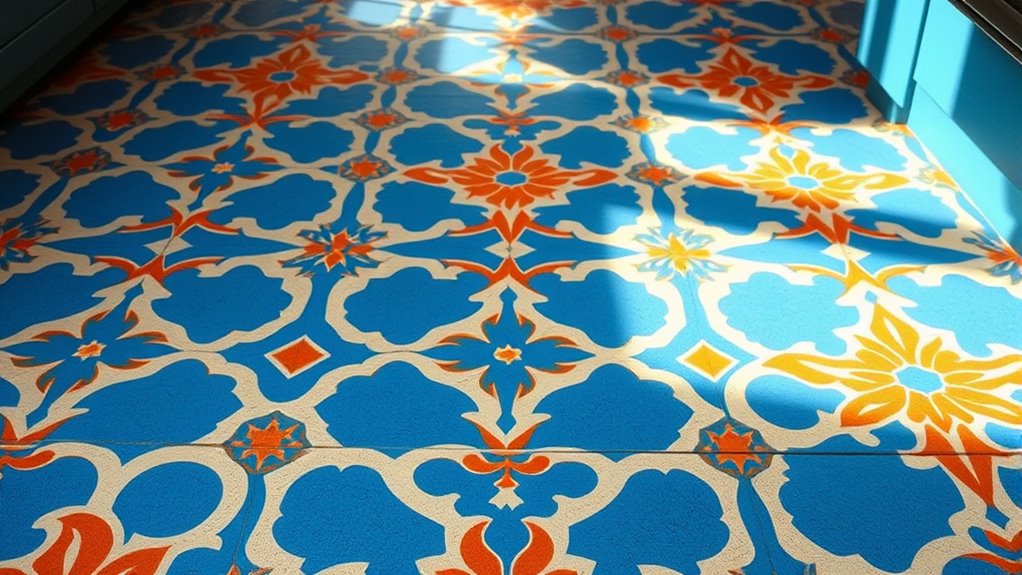
Step-by-Step Guide to Applying Moroccan Stencils on Floors and Backsplashes
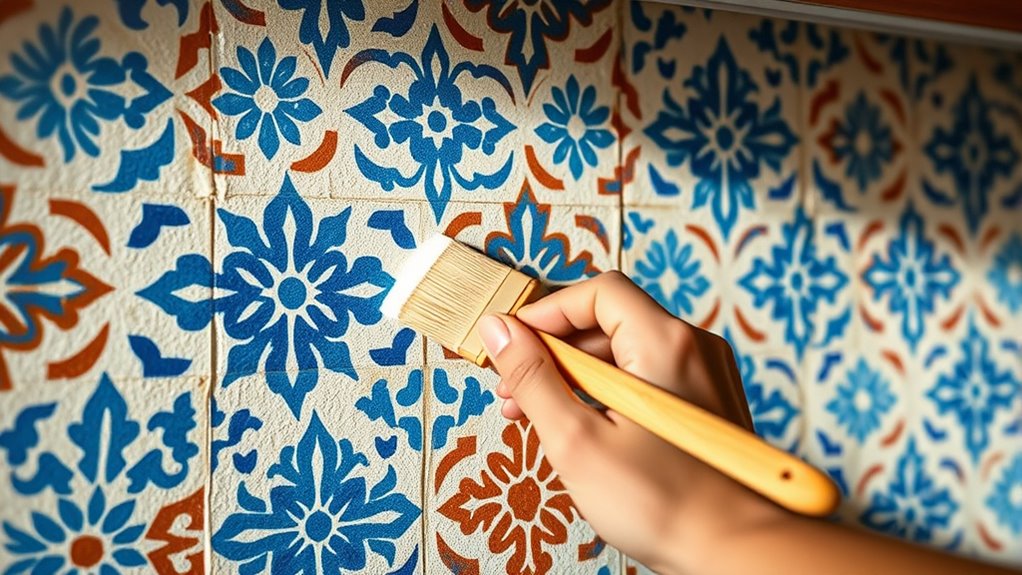
Before you start applying Moroccan stencils on floors or backsplashes, preparing the surface thoroughly is essential. First, clean the area well and apply a coat of Stix primer to guarantee the paint bonds properly. Next, position your tile stencil carefully, using painter’s tape to hold it steady and connect multiple pieces if covering a large space. Then, choose high-quality latex or acrylic paint and use a stencil brush or sponge, applying in gentle layers with dabbing motions to prevent paint bleed. Fourth, carefully lift the stencil to avoid smudging, repeating the process to cover your floor or backsplash, making sure patterns align perfectly. Proper surface preparation and paint quality are key to achieving a professional-looking finish with minimal effort, and this approach helps you achieve a beautiful stenciled tile floor or backsplash with ease, all in 10 simple steps. Additionally, using an airless paint sprayer can significantly speed up the process if you are covering large areas, providing a smooth and even coating in less time. Ensuring the surface is properly prepared also reduces the likelihood of paint chipping or uneven application over time. Incorporating the right air purifier maintenance dos and don’ts can help maintain a healthy indoor environment during your home projects, especially when working with paints and chemicals, and being aware of juice cleanses and detox benefits can motivate you to maintain a healthy lifestyle that complements your home improvement projects.
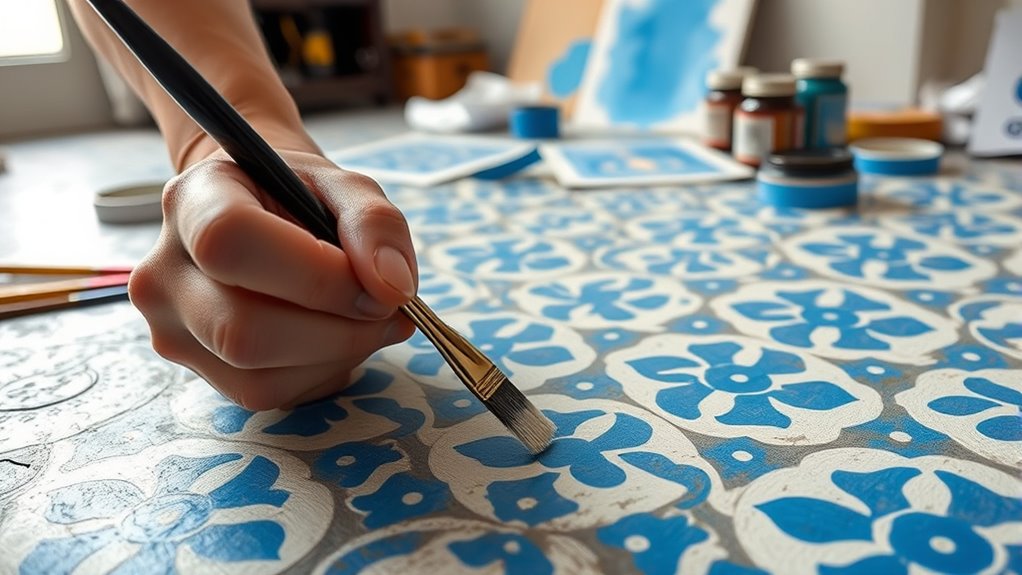
Tips for Achieving Crisp Lines and Intricate Details
To get crisp lines and fine details, start with a properly prepared surface free of dust and grease. Use high-quality painter’s tape and the right brushes to guarantee clean edges and precise work. Taking these steps makes a big difference in achieving professional-looking results. Additionally, be mindful of the store hours of your local beauty supply stores to ensure you can purchase any necessary supplies without inconvenience.
Proper Surface Preparation
Achieving crisp lines and intricate details starts with thorough surface preparation. To guarantee success, follow these steps:
- Clean the surface thoroughly to remove dust, grease, and debris, creating a smooth base for your stencil.
- Apply a high-quality adhesive primer like Stix to enhance stencil adhesion and prevent paint bleed, especially on porous or textured surfaces.
- Use painter’s tape to secure the stencil firmly, preventing shifting during painting and maintaining sharp edges.
- Choose low-bleed paint and apply multiple thin coats rather than one thick coat for cleaner lines and to avoid smudging.
Careful surface preparation lays the foundation for crisp, professional-looking results, making your Moroccan tile look truly stand out.
Use Quality Painting Tools
Using the right painting tools can make all the difference in creating crisp lines and intricate details when stenciling floors or backsplashes. Opt for high-quality stencil brushes or angled brushes to guarantee precise application and sharp edges. Apply paint in thin, even coats, using a sponge or roller first to prevent bleeding and uneven edges, then use a brush for detailed areas. Keep the paint moist but not overloaded to avoid drips and achieve clean patterns, especially around delicate designs. Use painter’s tape or stencil adhesive spray to secure the stencil firmly, preventing shifting and maintaining accuracy. A light touch and steady hand are essential when detailing fine lines. With quality tools, your Moroccan tile-look stencil will look professional and crisp.
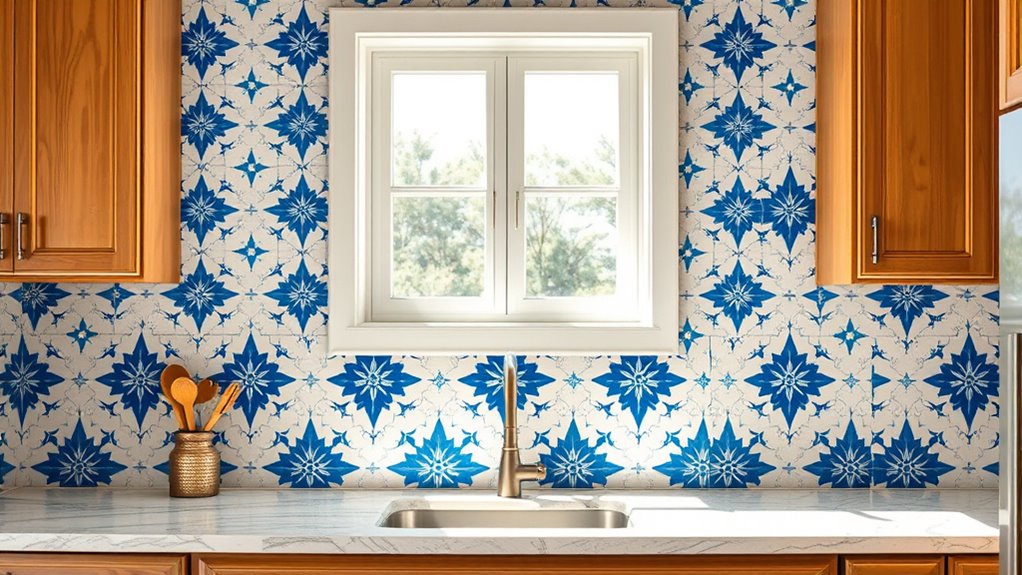
Creative Ways to Customize Colors and Patterns for a Unique Look
By mixing bold paint colors like navy blue or vibrant turquoise with contrasting white or black borders, you can create a striking, personalized Moroccan tile effect. To enhance your customization, consider these creative ideas:
- Use layered stencils or combine different patterns to craft a patchwork-inspired design that reflects your style.
- Experiment with metallic finishes or aged effects using glazes or waxes for an antique, vintage look.
- Incorporate color gradients or ombré effects within the stencil to add a modern, dynamic twist.
- Add accent colors in small details or borders to boost visual interest and tailor the pattern to your decor theme.
These techniques let you play with colors, patterns, and customization, making your project truly unique.
Protecting and Sealing Your Stenciled Surface for Longevity
To keep your stenciled surface looking great long-term, choosing the right sealant is essential. Applying multiple thin coats with proper drying time ensures durability and prevents peeling. Regular maintenance, like gentle cleaning and re-sealing every one to two years, will help maintain its vibrancy and protection.
Proper Sealant Selection
Wondering how to guarantee your stenciled surface lasts? The key is choosing the right sealant. Here are four tips to assure durability and moisture resistance:
- Opt for a high-quality, water-based polyurethane sealant to protect your design.
- Apply multiple thin coats, letting each dry fully to avoid smudges and uneven finish.
- For outdoor or high-traffic areas, select a weather-resistant, exterior-grade sealant to extend lifespan.
- Wait 24-48 hours after painting before sealing to prevent chipping and fading.
Maintenance and Care
Regular maintenance is essential to keep your stenciled surface looking vibrant and protected over time. To guarantee longevity, apply a sealer, like a clear, water-based polyurethane, to enhance durability and shield the design from scratches and moisture. For outdoor or high-traffic areas, use a weather-resistant sealant to prevent fading and peeling caused by sun and weather exposure. Regular cleaning with a soft, damp cloth and mild soap helps preserve the paint without damaging the stencil. Avoid harsh chemicals and abrasive tools that can chip or erode the design. Reapplying a protective topcoat every 1-2 years maintains the surface’s integrity, keeps the pattern vibrant, and extends its lifespan. Proper maintenance is key to enjoying your Moroccan tile look for years to come.
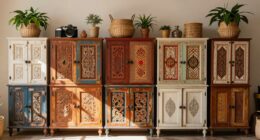
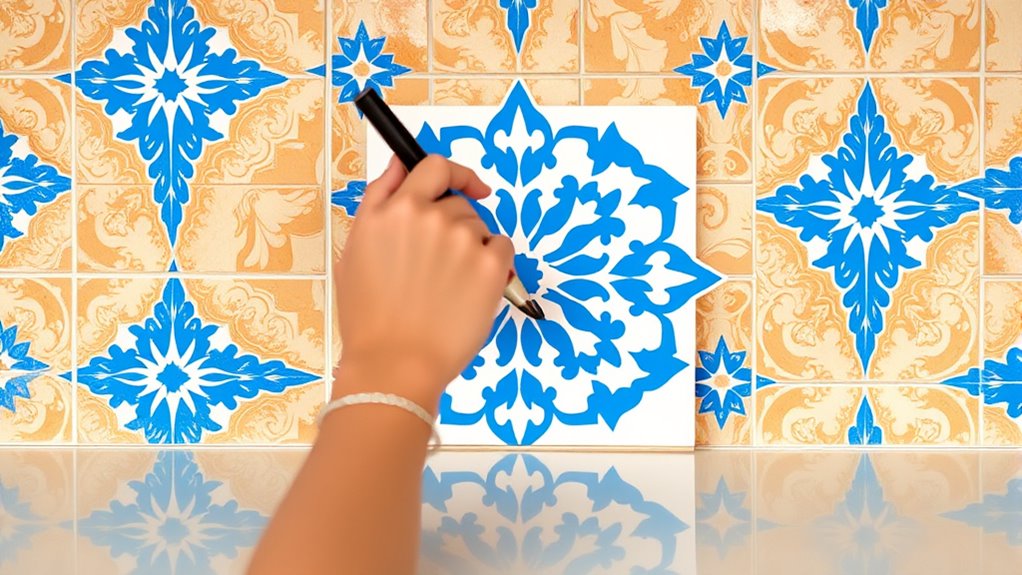
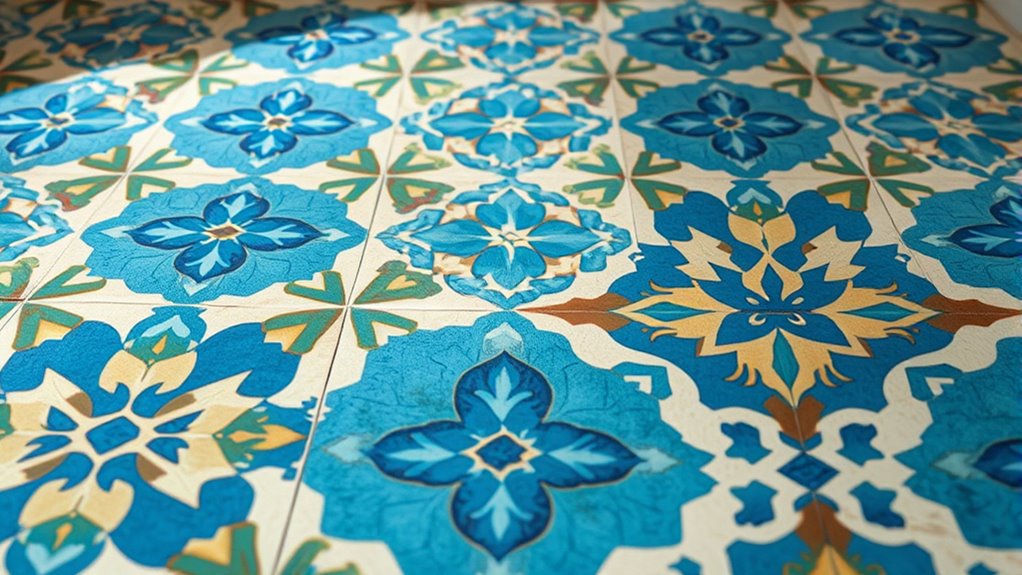
Transforming Old Tiles Into Stunning Faux Moroccan Designs
Transforming old tiles into stunning faux Moroccan designs is an affordable way to refresh your space without costly tile replacements. You can achieve a professional look with simple steps and minimal investment. Start by selecting a Moroccan stencil, like Myriam or Contempo Trellis, to create intricate patterns. Then, follow these steps:
Revamp your space affordably with faux Moroccan tile designs using stencils and bold colors.
- Apply an adhesive primer (Stix) to ensure paint sticks well.
- Use latex paint and a stencil brush or roller for clean, crisp designs.
- Incorporate bold colors such as deep blues or black borders to emulate traditional Moroccan style.
- Seal your faux tile with a protective coat for durability and long-lasting beauty.
Reusable mylar Moroccan stencils make it easy to create consistent, stunning faux tile effects on floors or backsplashes. DIY has never been easier!
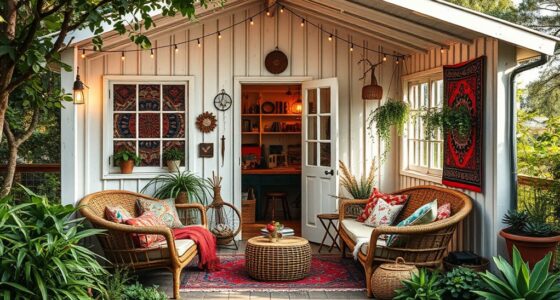
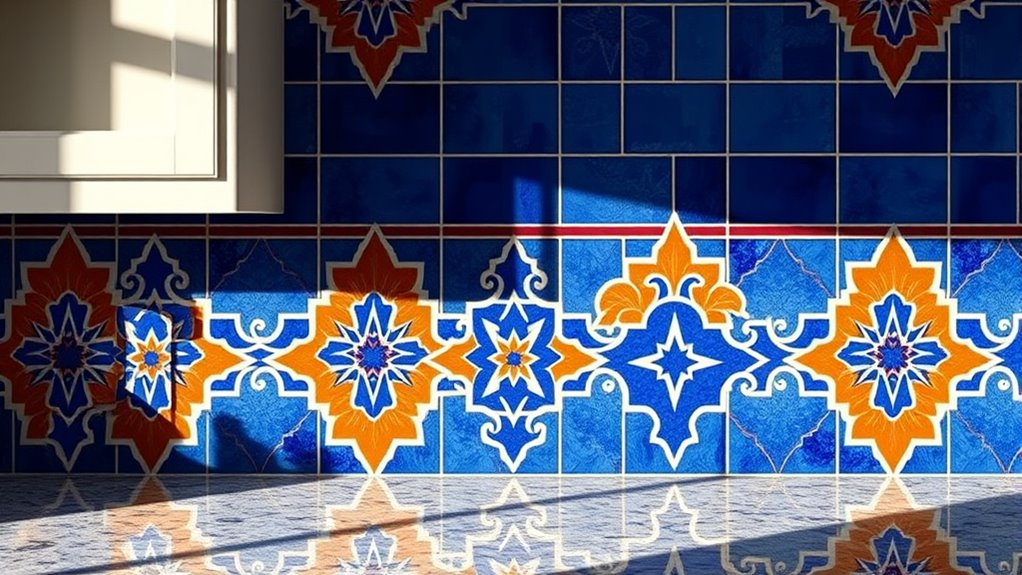
Inspiring Before-and-After Projects to Spark Your Creativity
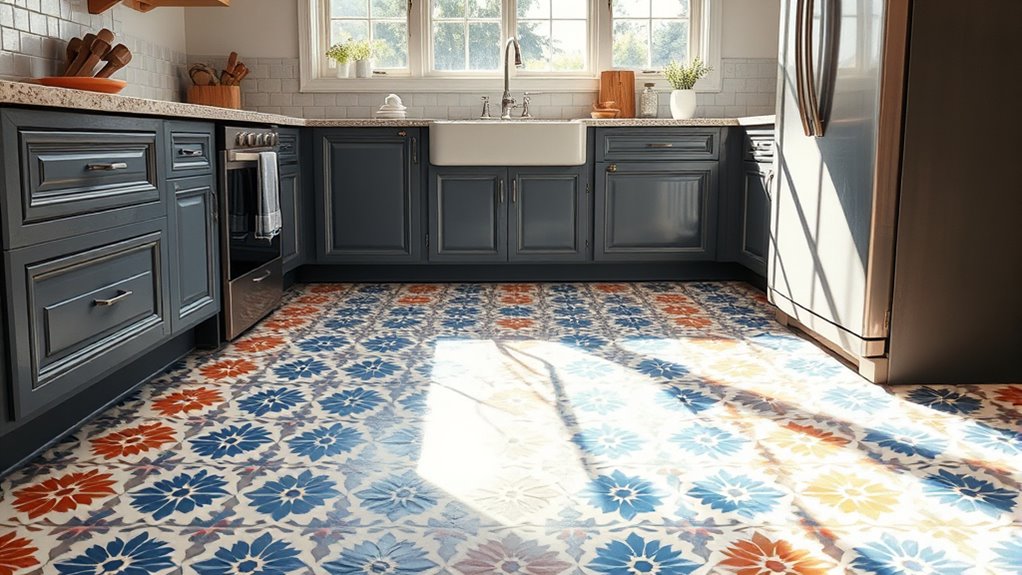
Seeing the dramatic results of faux Moroccan stenciling can ignite your own creative ideas. Before-and-after photos show how DIY tile projects can turn dull floors into vibrant, Moroccan tile-look surfaces at a fraction of the cost. Many homeowners report saving hundreds to thousands of dollars compared to traditional tile replacement, making it a smart, budget-friendly choice for a home makeover. These projects often boost home character, adding a luxurious, personalized touch. Even first-time DIYers can achieve professional-looking results with proper surface prep, quality stencils, and sealing techniques. Here’s an inspiring overview:
| Style Type | Key Benefits |
|---|---|
| Vintage Moroccan motifs | Unique, timeless charm |
| Modern geometric patterns | Sleek, contemporary look |
| Colorful accents | Brightens and energizes space |
| Custom designs | Fully personalized decor |
| Transformative impact | Huge visual upgrade on a budget |
Maintaining Your Stenciled Floors and Backsplashes for Lasting Beauty
To keep your stenciled floors and backsplashes looking their best over time, proper maintenance is essential. First, apply a sealant after finishing your project to protect against stains, scratches, and UV damage. Second, clean regularly with gentle, non-abrasive cleaners to preserve the vibrant design without damaging the paint. Third, inspect your surface periodically and perform touch-ups when you notice fading or chips, especially in high-traffic areas. Finally, reapply a sealant every few years to maintain protection and longevity. Remember, sealing your surface correctly and maintaining a routine cleaning schedule will ensure your Moroccan tile look stays beautiful and durable for years to come.
Frequently Asked Questions
Can You Stencil Floor Tiles?
Yes, you can stencil over existing floor tiles to create a fresh, decorative look. First, clean and prime the surface to guarantee paint adheres well. Use durable, reusable stencils and apply paint with multiple coats for crisp results. Seal the design for durability, and you’ll have a stylish, cost-effective upgrade that transforms your space without the need for costly tile replacement.
Where to Start When Stenciling a Floor?
When you start stenciling a floor, first clean the surface thoroughly to remove dust and grease, ensuring good paint adhesion. Measure and mark your design placement for a balanced look. Use a repositionable stencil to prevent shifting, and apply a primer like Stix to create a smooth base. Practice your technique on scrap material to perfect your lines before you begin on the actual floor for a professional result.
How to Paint a Pattern on Floor Tiles?
Perfectly painting a pattern on your floor tiles begins with preparation. You’ll prime the tiles to promote paint adhesion, then carefully position your stencil and secure it with tape. Using a stencil brush or foam roller, gently dab paint to create clean, crisp lines. Finally, finish with a durable lacquer or polyurethane to protect your pattern from wear and moisture, bringing bold, beautiful design to life with confidence.
Do Floor Stencils Last?
You might wonder if floor stencils last, and with proper care, they can last 5 to 10 years. Using high-quality paints and sealing the surface helps prevent peeling and fading. Regular gentle cleaning extends their life, and avoiding harsh chemicals keeps the design vibrant. Environmental factors and foot traffic also play roles, but with maintenance, your stencil design stays fresh and durable for many years.
Conclusion
Think of your stenciled floor or backsplash as a blank canvas waiting to tell your story. With patience and the right techniques, you’ll turn a simple surface into a vibrant Moroccan mosaic. Every detail you add is like a brushstroke in your personal masterpiece. Keep your creativity flowing, protect your work, and enjoy the stunning transformation. Soon, your space will shine with the charm of a handcrafted treasure—proof that beautiful design is within your reach.