
Mid‑August is an ideal time to seal your reclaimed wood deck because the weather is usually warm, dry, and consistent, which helps the sealant cure properly. To get the best results, inspect and clean the surface thoroughly, repair any damage, and choose a UV-resistant, breathable sealant suited for reclaimed wood. Applying the sealant carefully and evenly is key, and if you keep these tips in mind, you’ll protect your deck effectively for years to come.
Key Takeaways
- Mid-August offers ideal warm, dry weather conditions for effective sealing and proper curing of reclaimed wood decks.
- Conduct a thorough inspection, cleaning, and surface preparation before applying sealant for optimal adhesion.
- Choose a UV-resistant, breathable sealant compatible with reclaimed wood, and apply evenly using appropriate tools.
- Ensure the deck is completely dry and free of debris prior to sealing to prevent uneven finish or adhesion issues.
- Schedule regular maintenance, inspections, and re-sealing to protect the deck from moisture, UV damage, and wear over time.
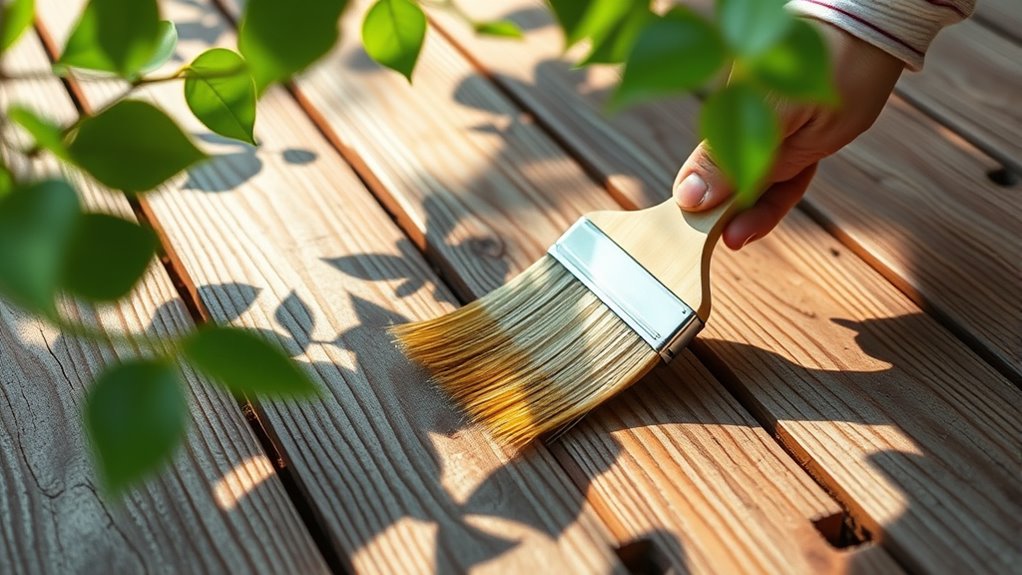
Why Mid‑August Is the Perfect Time for Deck Sealing
Mid-August is an ideal time to seal your deck because the weather is typically warm and dry, which helps the sealant cure properly. During this period, humidity levels tend to be lower, reducing the risk of moisture interfering with the sealing process. Warm temperatures ensure that the sealant penetrates the wood effectively and dries evenly, providing better protection against moisture, UV rays, and wear. Plus, mid-August usually offers consistent weather patterns, minimizing unexpected rain showers that could delay your project. Sealing your reclaimed wood deck now also prepares it for the upcoming fall and winter months, helping to extend its lifespan. Additionally, choosing weather conditions for sealing during this time can help you plan your outdoor space for better functionality and visual appeal. Proper application techniques, such as cleaning the surface beforehand, further enhance the longevity of the sealant. Moreover, understanding the best sealing practices can ensure a more durable and aesthetically pleasing finish. Being aware of local climate patterns can also help you decide the optimal time for sealing. Overall, this timing allows you to complete the job efficiently and achieve a long-lasting, protected surface.
Assessing Your Reclaimed Wood Deck Before Sealing
Before sealing your reclaimed wood deck, it’s essential to thoroughly assess its current condition. First, inspect the surface for any signs of damage, such as splinters, cracks, or warped boards. Check for loose nails or screws and tighten or replace them as needed. Look for areas with excessive dirt, mold, or mildew, which can affect how the sealant adheres. Evaluate the wood’s moisture level by performing a simple touch test; if the wood feels damp or cool, it may need more drying time. Also, check for previous finishes or sealants that could interfere with new sealing. Identifying these issues upfront helps ensure you prepare the surface correctly and achieve a smooth, lasting seal. Considering appropriate cleaning and maintenance steps can further enhance the effectiveness of your sealing process. Additionally, understanding Glycolic Acid benefits can be useful if your deck has accumulated buildup that requires exfoliation before sealing. Recognizing the importance of surface preparation is crucial to optimize adhesion and durability of the sealant. Proper surface assessment contributes to long-term preservation of the wood’s integrity and appearance. To further ensure optimal sealing, evaluate the wood’s porosity, which influences how well the sealant penetrates and protects the surface.
Choosing the Right Sealant for Reclaimed Wood
Choosing the right sealant for reclaimed wood is essential to protect your deck and enhance its natural beauty. You need a product suited for outdoor exposure, breathable to prevent moisture buildup, and UV-resistant to prevent fading. Consider whether you prefer a clear finish to showcase the wood’s character or a tinted one for added color. Additionally, selecting a sealant that incorporates sound healing science principles can further promote the health of your outdoor space by reducing stress-inducing vibrations. Using a sealant with appropriate UV protection helps maintain the wood’s appearance over time. It’s also important to choose a sealant compatible with reclaimed wood to ensure proper adhesion and effectiveness. Incorporating proper maintenance practices and selecting products with breathability can also extend the lifespan of your reclaimed wood and keep it looking its best over time.
Preparing Your Deck for Sealing
Before sealing your deck, make sure to clean the surface thoroughly to remove dirt and debris. Next, inspect the wood carefully for any signs of damage or rot that might need repairs. Taking these steps guarantees your deck is ready for a long-lasting sealant application. Additionally, consider the type of finish you plan to use, such as a high-quality sealant designed for reclaimed wood for optimal protection and durability. Ensuring proper surface preparation can also prevent issues like over-saturation that may compromise the sealant’s effectiveness. Proper surface cleaning is essential for a smooth and effective sealant application, helping to extend the life of your deck. Using a pressure washer can be an effective way to remove stubborn dirt and grime, ensuring the surface is properly prepared. Moreover, selecting the right sealant type can significantly enhance the longevity and appearance of your reclaimed wood deck.
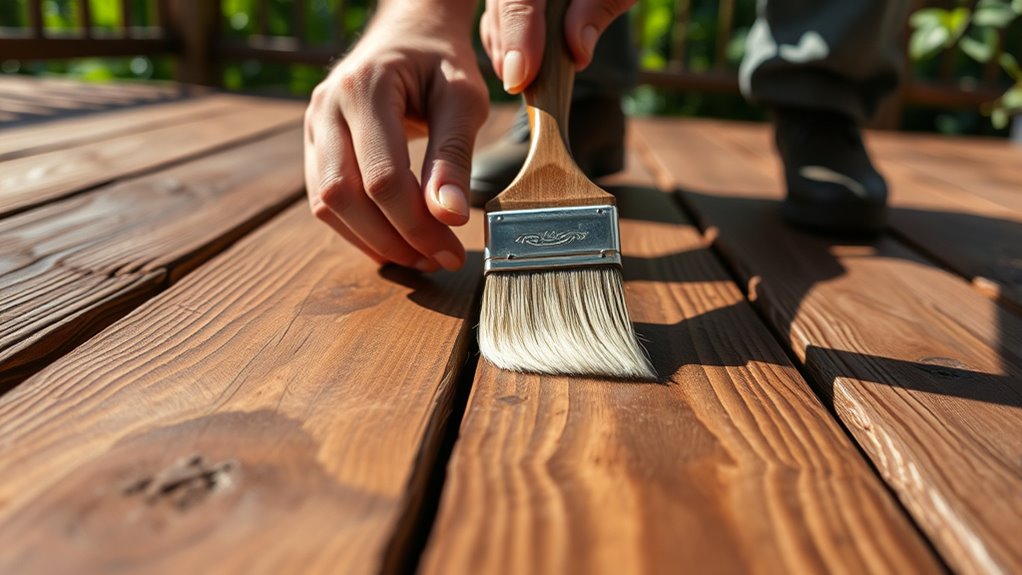
Clean the Surface Thoroughly
To guarantee your deck is properly sealed, it’s essential to start by cleaning the surface thoroughly. Dirt, debris, and old residue can prevent the sealant from adhering properly, leading to uneven protection. Begin by sweeping the entire deck to remove loose dirt and leaves. Next, scrub the surface with a deck cleaner suitable for reclaimed wood, ensuring you reach into all crevices. Finally, rinse thoroughly with water to eliminate any remaining grime or cleaner residue. Proper cleaning also helps maintain the integrity of the wood fibers, ensuring a better seal and longer-lasting protection. To keep your deck in top shape, remember to:
- Remove mold or mildew with a specialized cleaner
- Clear away stubborn stains or old paint
- Allow the surface to dry completely before sealing
This thorough cleaning prepares the wood for a smooth, long-lasting seal.
Inspect for Damage
Inspecting your deck for damage is a crucial step before sealing. Carefully examine the wood for signs of rot, cracks, or splinters. Look closely at the joints and fasteners—loose or rusted nails can compromise stability. Check for areas where the wood has warped or become soft, indicating decay. If you find damage, repair or replace damaged boards to ensure a smooth, durable surface.
| Damage Type | Action Needed |
|---|---|
| Rot or Decay | Replace affected boards |
| Cracks or Splinters | Sand or repair as needed |
| Loose Fasteners | Tighten or replace them |
| Warped Wood | Consider replacing or flattening |
| Rusted Nails | Remove or replace with corrosion-resistant fasteners |
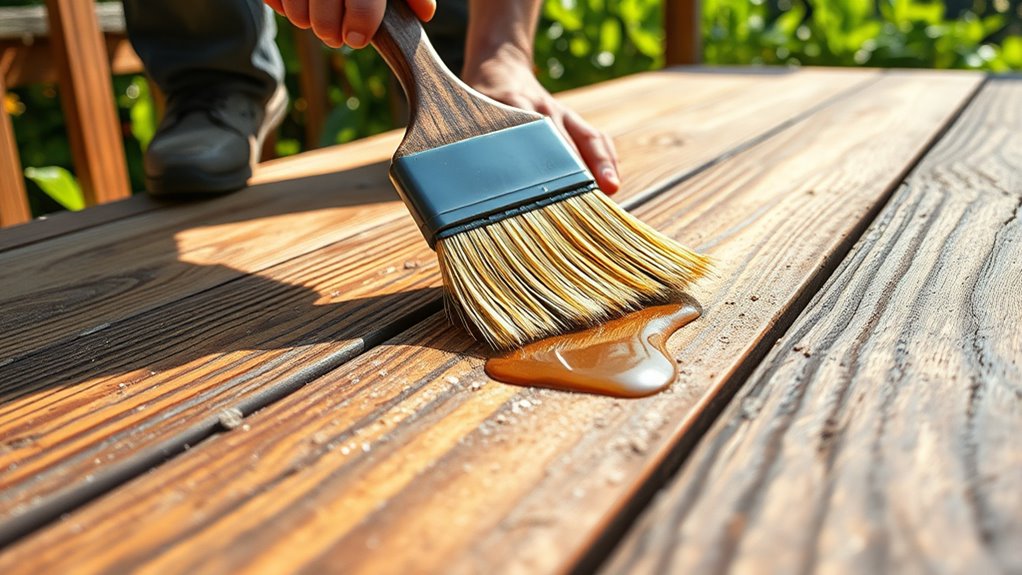
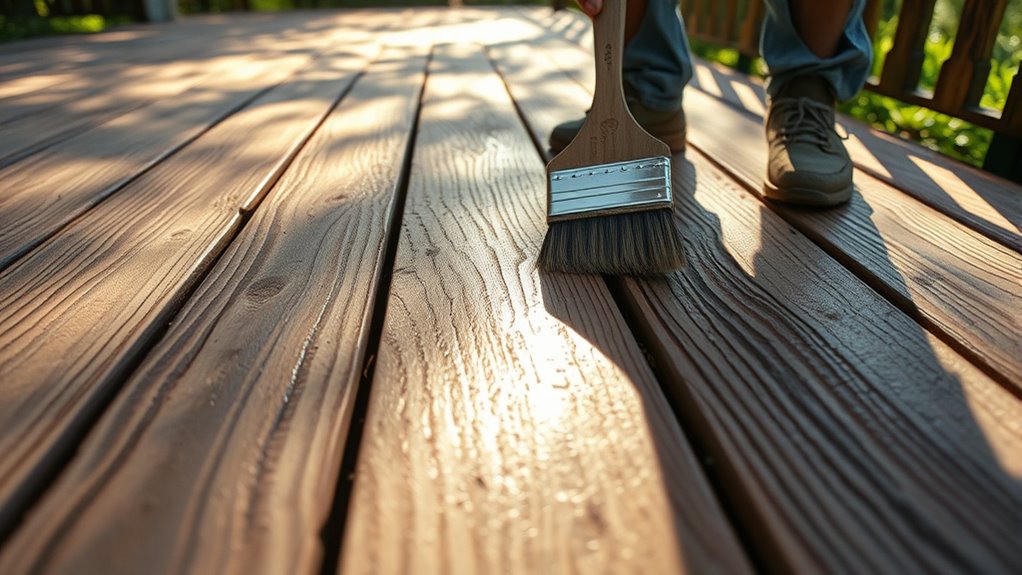
Step-by-Step Guide to Applying Sealant
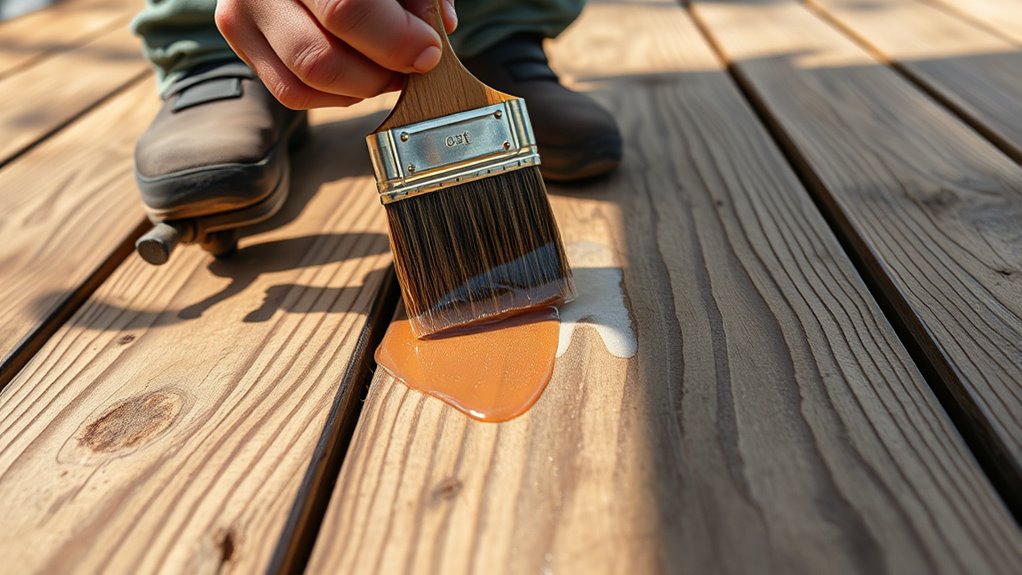
Applying sealant correctly is essential to ensuring a durable and effective seal. First, clean the deck thoroughly, removing dirt, debris, and old sealant. Next, stir the sealant well to ensure even consistency. When you’re ready, apply the sealant using a brush, roller, or sprayer, working in manageable sections. Maintain a steady pace to prevent overlap or missed spots. Pay attention to these key points:
- Work in the shade to prevent faster drying
- Use painter’s tape to protect edges and adjacent surfaces
- Apply a thin, even coat for best results
Take your time and avoid rushing. Proper application guarantees your reclaimed wood deck stays protected from moisture and weather damage, ensuring it looks great and lasts longer. Consistent application helps prevent uneven sealing and extends the lifespan of your deck.
Tips for Achieving an Even Finish
To get a smooth, even finish, start by preparing the surface thoroughly; clean and dry it to guarantee proper adhesion. When applying sealant, use steady, consistent strokes to prevent uneven spots. Taking these steps helps you achieve a professional look with minimal effort.
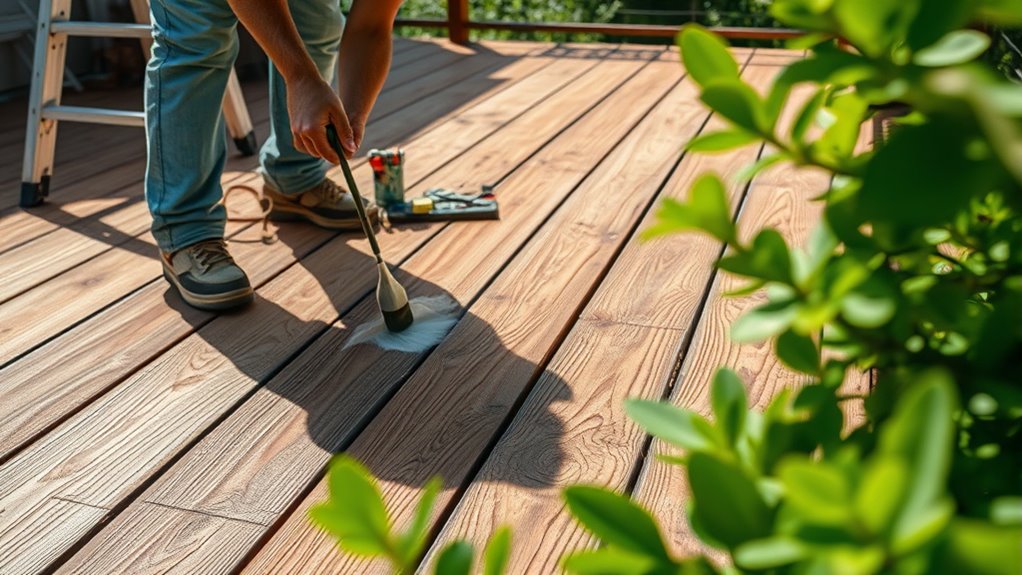
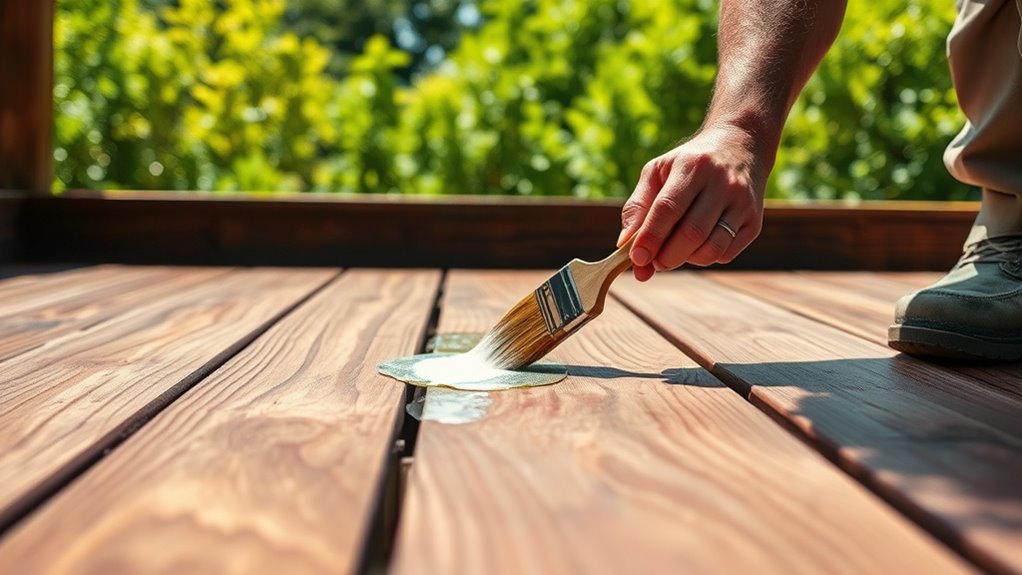
Prepare the Surface Properly
Before you start painting or applying any finish, it’s essential to prepare the surface thoroughly. Proper preparation guarantees an even, long-lasting seal and a smooth appearance. Begin by cleaning the deck thoroughly to remove dirt, debris, and old finish. Use a stiff brush or pressure washer for stubborn grime. Next, sand the surface to smooth out rough spots and open the wood pores, helping the sealant adhere better. Finally, inspect for damaged or loose boards and repair or replace them before sealing. Keep these steps in mind:
- Remove all dust and loose debris after sanding
- Repair or replace damaged wood planks
- Ensure the surface is completely dry before applying sealant
Taking these precautions guarantees a flawless, durable finish.
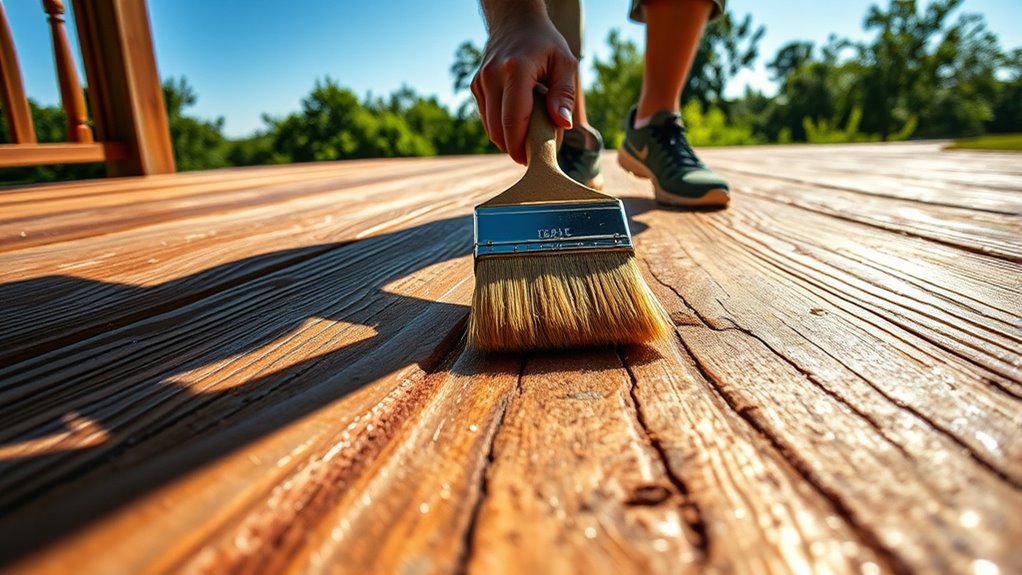
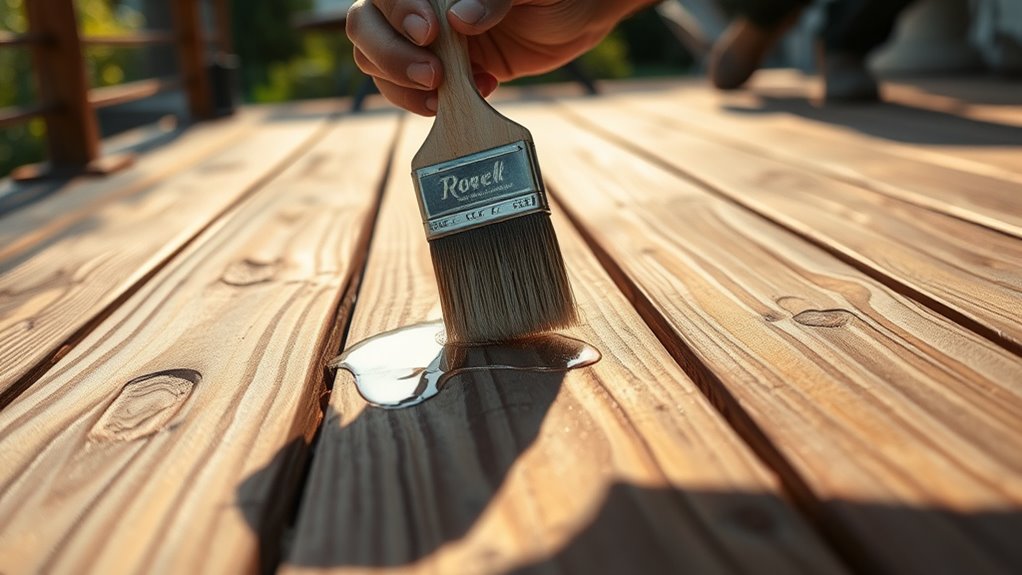
Apply Sealant Evenly
For a smooth, professional-looking finish, it’s essential to apply the sealant evenly across the surface. To do this, use a high-quality brush, roller, or sprayer designed for wood sealants. Work in manageable sections to prevent overlaps and streaks. Maintain a consistent pace, applying the sealant in long, smooth strokes or even passes. Avoid rushing, as uneven application can lead to blotches or thin spots. Keep a wet edge by overlapping slightly with each stroke, ensuring seamless coverage. Check for drips or pooling and smooth them out immediately. If you notice uneven patches after initial application, lightly go over them again to blend the finish. Taking your time and staying attentive will give you a uniform, durable sealant coat.
Protecting Your Deck From Future Damage
Protecting your deck from future damage starts with proper maintenance and preventive measures. Regularly inspect your deck for signs of wear, such as splintering or loose boards. Keep debris and dirt off the surface to prevent moisture buildup, which can lead to rot. Applying a high-quality sealant helps safeguard against water penetration and UV damage.
To further protect your deck, consider these steps:
- Clear leaves and debris promptly after storms
- Use furniture pads to prevent scratches
- Ensure proper drainage to avoid standing water
Maintenance Tips to Extend the Life of Your Sealed Deck
Regular maintenance is key to extending the lifespan of your sealed deck. Start by regularly cleaning your surface with a gentle deck cleaner and a soft brush or hose to remove dirt, leaves, and debris. This prevents mold, mildew, and stains from setting in. Inspect the sealant annually for any signs of wear or cracks, and reapply as needed to maintain a protective barrier against moisture and UV rays. Keep furniture and planters off the deck when possible, or use pads to prevent scratches. Trim nearby plants and trees to reduce debris accumulation. Additionally, avoid dragging heavy or sharp objects across the surface, which can damage the sealant. Consistent upkeep preserves your deck’s appearance and structural integrity, helping it last longer and stay safer for use.
Common Mistakes to Avoid During Sealing

Sealing your deck properly is essential, but many people make mistakes that can compromise the finish. One common mistake is rushing the process—applying sealant in direct sunlight or on a hot surface causes uneven absorption and streaks. Another error is neglecting to clean the deck thoroughly beforehand; dirt and debris trapped beneath the sealant weaken its effectiveness. finally, using the wrong type of sealant for reclaimed wood can lead to poor adhesion and early failure. To avoid these pitfalls:
- Skipping surface preparation and cleaning
- Applying sealant in unsuitable weather conditions
- Choosing the wrong product for your wood type
Frequently Asked Questions
How Often Should I Reseal My Reclaimed Wood Deck?
You might wonder how often to reseal your reclaimed wood deck. Generally, it’s best to reseal every 1-3 years, depending on exposure to weather, foot traffic, and the type of sealant used. Keep an eye out for signs like fading, water absorption, or surface cracks. Regular sealing protects your deck from moisture and UV damage, ensuring it stays beautiful and durable for years to come.
Can Reclaimed Wood Be Sealed Effectively in High Humidity?
When it comes to sealing reclaimed wood in high humidity, you’re walking a tightrope, but it’s doable. You should choose a high-quality, breathable sealant designed for moist conditions. Make sure the wood is thoroughly dry before applying, and plan for a warm, dry day if possible. Proper prep and the right product will help your sealant stick, keeping your deck protected despite the damp environment.
What Are Signs That My Sealant Needs Reapplication?
You’ll know your sealant needs reapplication when you notice peeling, cracking, or fading on the surface. Water no longer beads up, instead it soaks in or leaves marks. If you see discoloration or feel the wood is rougher to the touch, it’s time to reseal. Regular inspection helps maintain your deck’s protection, especially in high humidity. Don’t wait for major damage—reapply sealant promptly to keep your wood looking great.
Is It Necessary to Sand Reclaimed Wood Before Sealing?
You wonder if sanding reclaimed wood before sealing is necessary. Sanding smooths the surface, removes splinters, and opens the grain, allowing the sealant to penetrate better. It also helps eliminate old finishes, dirt, and uneven patches. If your wood is rough, weathered, or has old sealant, sanding becomes essential. Otherwise, a clean, dry surface may suffice. Sanding guarantees your sealant adheres properly, resulting in a longer-lasting, more attractive finish.
How Does Weather Affect the Sealing Process and Durability?
Weather plays a vital role in sealing reclaimed wood decks. You should avoid sealing during rainy, humid, or very cold weather, as moisture can prevent proper adhesion and curing. Ideally, you seal on a warm, dry day with low humidity and mild temperatures. This guarantees the sealant bonds well, providing better protection and longer-lasting durability for your deck. Always check the weather forecast before starting your sealing project.
Conclusion
Sealing your reclaimed wood deck this mid-August can extend its lifespan by up to 50%, protecting it from future damage. With the right preparation and sealant, you’ll enjoy a beautiful, durable surface for years to come. Remember, neglecting maintenance can lead to costly repairs—so take action now. By following these steps, you’re not just preserving wood; you’re safeguarding your outdoor space for memorable moments ahead.