
To make your peel-and-stick wallpaper look its best, start by thoroughly cleaning and removing any old wallpaper, peeling paint, or residues. Fill and sand any holes or cracks to create a smooth surface. Measure accurately and cut your wallpaper with a slight overlap for perfect alignment. Priming textured or uneven walls helps with adhesion and a sleek finish. Proper prep not only enhances appearance but also makes the wallpaper last longer. Keep going to discover more tips for flawless results.
Key Takeaways
- Remove existing wallpaper, paint, or residue to ensure a clean surface for better adhesion.
- Fill and sand holes or cracks to create a smooth, even wall surface.
- Clean walls thoroughly to eliminate dust, grease, and dirt that can cause bubbles.
- Prime textured or uneven walls for a uniform base that enhances wallpaper adherence.
- Measure and cut wallpaper accurately, leaving overlaps for seamless, neat installation.

Are you ready to transform your space with peel-and-stick wallpaper? Before you start sticking, it’s vital to prepare your walls properly. Proper prep makes a huge difference in how your wallpaper looks and lasts. When you take the time to prep well, your DIY project becomes smoother, and the finished look is much more polished. Think of it as setting a solid foundation for a painting or a piece of furniture—you want everything to be smooth, clean, and ready for the design inspiration you’re about to bring into your home.
Start by removing any existing wallpaper, peeling paint, or sticky residue. Use a scraper or putty knife to gently lift old wallpaper, and consider a wallpaper remover or a mixture of warm water and mild dish soap to loosen stubborn patches. Once the walls are bare, wash them thoroughly with a gentle cleaner to eliminate dust, grease, or dirt that could interfere with adhesion. Dry the walls completely, as even a small amount of moisture can cause bubbles or peeling later on. Incorporating a thorough cleaning process can help ensure a better wall adhesion. Additionally, understanding the impact of indoor air quality on your home’s environment can motivate you to maintain a clean and healthy space overall.
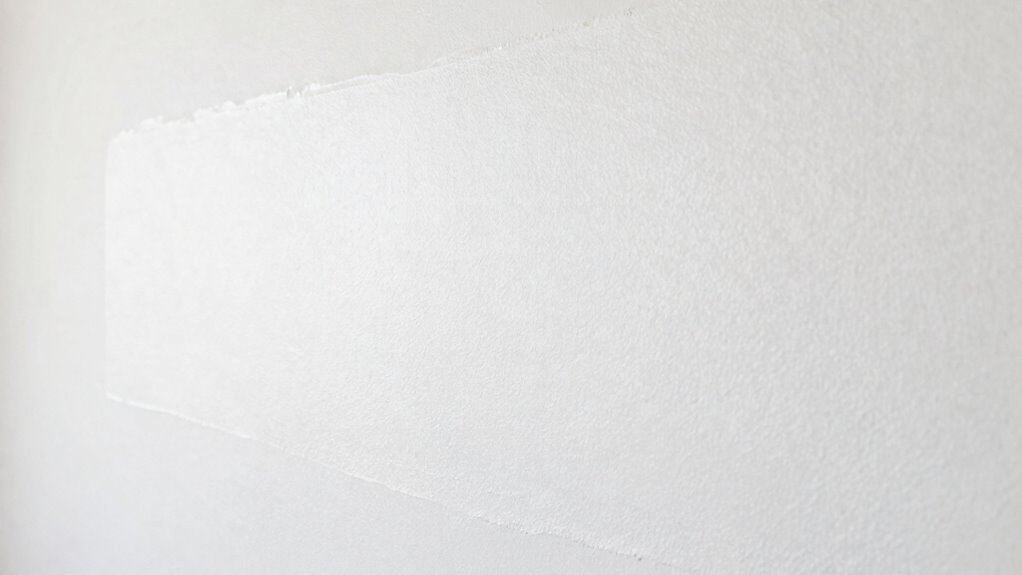
Next, check the wall surface for imperfections. Fill in any holes, cracks, or dents with spackle or joint compound, then sand the area smooth once it dries. A smooth surface ensures your peel-and-stick wallpaper adheres evenly and looks flawless. If your walls are textured or uneven, you might want to think about applying a primer or a smooth, flat wall primer to create a uniform base. This step is especially helpful if you’re aiming for a sleek, modern look inspired by clean design aesthetics. Also, understanding the importance of proper wall preparation can significantly improve your results.
Another DIY tip is to measure twice and cut once. Use a level or straightedge to mark your starting line, ensuring your wallpaper will hang perfectly straight. When cutting your wallpaper strips, leave a slight overlap at the edges, so you can align and trim precisely later. This helps prevent crooked lines and uneven seams, which can ruin the overall appearance.
Taking these prep steps not only improves the look of your peel-and-stick wallpaper but also boosts your confidence in tackling the project. It’s a small investment of time that pays off with a more professional-looking result. Plus, a well-prepped wall makes the removal process easier if you decide to change your decor later on. With good preparation, your wallpaper will look better, last longer, and serve as a striking feature that reflects your unique style and creative vision. So, gather your tools, follow these DIY tips, and get inspired by the endless design possibilities that peel-and-stick wallpaper offers.

Roman Wallpaper Remover Liquid Spray, Contractor Strength Wallpaper Stripper and Adhesive Remover, Unscented, Non-Staining, Clear, PRO-496 (32 Ounce, 75 Sq. Ft.)
FAST ACTING – Formulated to penetrate wallpaper and break down stubborn paste quickly, leaving the walls clean and…
As an affiliate, we earn on qualifying purchases.
As an affiliate, we earn on qualifying purchases.
Frequently Asked Questions
Can Peel-And-Stick Wallpaper Be Applied Over Textured Walls?
Peel-and-stick wallpaper can be applied over textured walls, but you’ll face some challenges. Textured wall challenges include uneven surfaces that can prevent the wallpaper from sticking smoothly. To guarantee good adhesion, consider using a high-quality adhesive or a primer to boost adhesive strength considerations. Carefully clean and smooth out the surface as much as possible, and choose a textured wallpaper designed to work with uneven surfaces for the best results.
How Long Does Peel-And-Stick Wallpaper Typically Last?
Peel-and-stick wallpaper usually lasts about 3 to 5 years, but it’s surprisingly resilient—almost like a chameleon in your home’s décor. You get removable options that let you change your mind, and design versatility that keeps your space fresh. Ironically, with proper prep and care, it can outlast your expectations. So, enjoy the temporary look that feels more permanent—until you’re ready for a new style.
Is It Safe for Painted or Wallpapered Surfaces?
Peel-and-stick wallpaper is generally safe for painted or wallpapered surfaces if you check wall surface compatibility first. You should guarantee the paint or existing wallpaper is in good condition, clean, and dry to prevent paint adhesion concerns. Avoid applying it on textured or freshly painted walls, as it might not stick well or damage the surface. Testing a small area beforehand helps confirm safety and adhesion quality.
What Tools Are Best for Aligning the Wallpaper Perfectly?
You should use a level or a straightedge to guarantee perfect wall alignment. A smoothing tool or squeegee helps with pattern matching and removes air bubbles, giving a seamless finish. A measuring tape is essential for precise placement, especially when matching patterns across strips. These tools help you align the wallpaper accurately and achieve a professional look, making pattern matching and wall alignment much easier.
Can Peel-And-Stick Wallpaper Be Repositioned Easily?
Think of peel-and-stick wallpaper like a temporary tattoo—you can peel it off and reposition it. Thanks to removable adhesives, you can gently lift and reposition the wallpaper if needed, especially if you’ve properly prepped your wall. Good wall preparation guarantees smooth application, making repositioning easier without tearing or damaging the paper. Just work slowly, and you’ll find it pretty straightforward to adjust your wallpaper until it looks perfect.

DAP DryDex Dry Time Indicator Spackling, Pink/White, 32 Oz (7079812330)
DryDex is a latex polymer spackle for repairing interior or exterior surfaces like drywall, plaster, wood, brick and…
As an affiliate, we earn on qualifying purchases.
As an affiliate, we earn on qualifying purchases.
Conclusion
So, there you have it—prep your wall like a pro, and your peel-and-stick wallpaper will look flawless. Because nothing says “I put in the effort” like a perfectly prepped surface that actually sticks, instead of peeling off in disgust. Remember, a little prep goes a long way—unless you’re aiming for the “I guess I didn’t try” look. Happy decorating, and may your walls stay stick-tacular for years to come!

Romeda 8-Pack Sanding Sponge, Four Grits Per Pack 60/80/120/220, Washable and Reusable Handmade Sandpaper Block, Drywall Sandpaper Blocks for Wooden Drywall Sheetrock and Metal Glazing
【ASSORTED GRIT SANDING BLOCKS】 8 sand blocks, 4 sizes from coarse to ultra-fine sand, 60/80/120/220 grit, 2 blocks…
As an affiliate, we earn on qualifying purchases.
As an affiliate, we earn on qualifying purchases.

Zinsser 286258 Bulls Eye 1-2-3 All Surface Primer, Quart, Gray
Interior/Exterior use on new or previously painted drywall, concrete, wood, masonry, metal and glossy or difficult surfaces
As an affiliate, we earn on qualifying purchases.
As an affiliate, we earn on qualifying purchases.