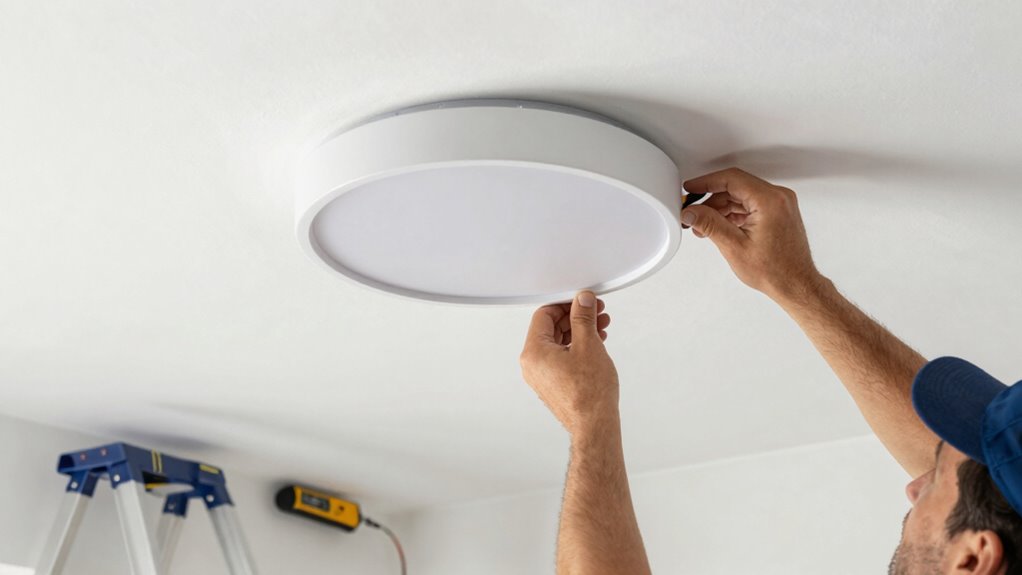
Before you start replacing a ceiling light, make sure to turn off power at the circuit breaker and verify the circuit is de-energized using a voltage tester. Never work with live electricity to avoid shocks. Double-check that the power is off before disconnecting wires or removing the fixture. Ensuring proper safety precautions are in place can prevent accidents. If you’re unsure about the process, the next steps will guide you through a safe and successful installation.

Get your wardrobe favorites delivered free with Prime
- Fast, free delivery on millions of items
- Prime Video, Amazon Music and more included
- Member-only deals all year
Key Takeaways
- Always turn off the power at the circuit breaker and verify with a voltage tester before beginning.
- Confirm the new fixture’s weight and mounting requirements match your ceiling’s support capacity.
- Gather necessary tools, including a screwdriver, wire stripper, and a voltage tester, before starting.
- Photograph wiring connections of the old fixture to ensure correct reinstallation of new wiring.
- Double-check all wiring connections and ensure the fixture is securely mounted before restoring power.
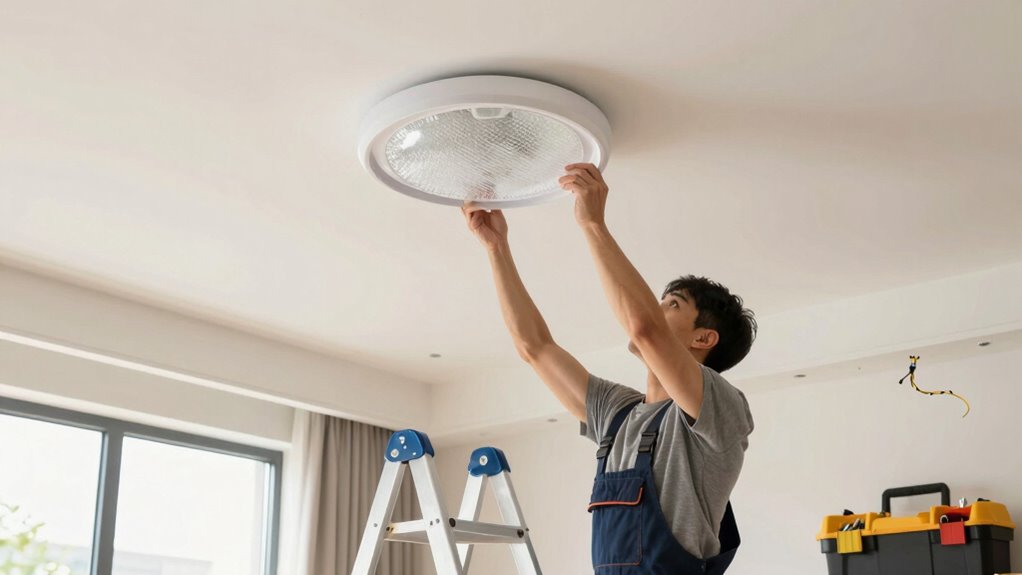
Replacing a ceiling light is a straightforward task that you can do yourself with the right tools and precautions. Before you get started, it’s essential to prioritize electrical safety. Turn off the power at the circuit breaker to eliminate any risk of electric shock. Double-check that the power is off by flipping the switch and testing the fixture with a voltage tester. This simple step can prevent dangerous accidents and gives you peace of mind as you work. Remember, working with live electricity is never safe, so always ensure the circuit is completely de-energized before proceeding. Additionally, consulting electrical codes can help ensure your work complies with safety standards and local regulations.
Next, consider fixture compatibility. Not all ceiling lights are created equal, so it’s important to verify that your new fixture will fit your existing electrical box and ceiling structure. Measure the mounting hole and check the weight of the fixture to ensure the ceiling can support it. Some fixtures require additional support or specific mounting brackets. If your new light is considerably heavier or has a different mounting style, you might need to upgrade or reinforce the electrical box or ceiling support to prevent future issues. Reading the manufacturer’s instructions and specifications can save you headaches later, ensuring the fixture you choose is compatible with your ceiling and electrical setup.
Verify fixture compatibility by measuring the mounting hole, checking weight, and reviewing manufacturer instructions for a perfect fit.
Once you’ve confirmed electrical safety and fixture compatibility, gather your tools. You’ll need a sturdy ladder, a screwdriver, wire strippers, and possibly a voltage tester. Wear rubber-soled shoes and work on a dry surface to reduce the risk of electrical shock. Carefully remove the existing fixture by unscrewing the mounting screws and disconnecting the wires. Pay close attention to how the wires are connected—typically, you’ll find a black (hot), white (neutral), and green or copper (ground) wire. Take a quick photo if needed, so you remember how to connect the new fixture. When installing the new light, connect the wires securely using wire nuts, matching black to black, white to white, and grounding appropriately. Make sure all connections are tight and insulated.
Finally, once everything is connected and mounted securely, restore power at the circuit breaker and test your new ceiling light. If it doesn’t turn on, double-check your connections and ensure the breaker is functioning. If you’re unsure about any step, don’t hesitate to consult a professional electrician. Taking these precautions ensures your safety and guarantees that your new ceiling light will function properly and look great in your space. Proper planning and attention to detail make replacing a ceiling light a manageable task that enhances your home’s ambiance and safety.
ceiling light fixture installation kit
As an affiliate, we earn on qualifying purchases.
As an affiliate, we earn on qualifying purchases.
Frequently Asked Questions
Can I Replace a Ceiling Light Without Turning off the Circuit Breaker?
You shouldn’t replace a ceiling light without turning off the circuit breaker because of electrical safety risks. Working on live wiring exposes you to electrical shocks or short circuits, which can be dangerous or even fatal. For safe DIY lighting projects, always cut the power before starting. Taking this simple step guarantees you protect yourself and avoid damaging your fixtures, making your project safer and more manageable.
What Tools Are Essential for Replacing a Ceiling Light?
A stitch in time saves nine, so gather your essential tools first. For replacing a ceiling light, you’ll need a screwdriver, voltage tester, wire strippers, and possibly a ladder. Always follow safety precautions, like turning off the circuit breaker, before starting. Check your tool checklist to make certain you have everything, preventing delays or accidents. With the right tools, you’ll light up your space safely and efficiently.
How Do I Identify the Correct Wattage for a New Ceiling Light?
You identify the correct wattage for your new ceiling light by checking the wattage label, usually found on the old bulb or fixture. Make sure the new light bulb compatibility matches this wattage to prevent electrical issues. Always verify the wattage label identification carefully, and avoid exceeding it, as over-wattage can cause overheating. This step guarantees safe, proper lighting and helps your fixture operate efficiently.
Is It Safe to Replace a Ceiling Light Myself?
Like Icarus soaring too close to the sun, you might feel confident replacing a ceiling light yourself, but electrical safety and DIY risks are real. If you’re comfortable working with wiring and turn off the power at the breaker, it’s generally safe. However, if you’re unsure or unfamiliar with electrical work, it’s best to call a professional. Always prioritize safety to avoid shocks or fire hazards.
How Long Does It Typically Take to Replace a Ceiling Light?
Replacing a ceiling light usually takes about 30 minutes to an hour, depending on your experience and the fixture’s complexity. During this process, your installation timeline might include troubleshooting common issues like loose wires or faulty switches. You can speed things up by preparing your tools beforehand and carefully following safety precautions. Remember, taking your time guarantees a safe, proper installation, avoiding potential electrical problems later.
Conclusion
Before you replace that ceiling light, remember to turn off the power, gather the right tools, and double-check your work. Safety, preparation, and patience are your best friends in this task. Don’t rush, don’t skip steps, and don’t forget to test everything before you finish. By staying cautious, staying organized, and staying confident, you’ll brighten your space with ease and peace of mind. Light up your room, and do it right!
Fall Picks
fall essentials
As an affiliate, we earn on qualifying purchases.