To create a simple solar lantern pathway for late-night gatherings, select weather-resistant lanterns with bright LEDs and large batteries for all-night glow. Plan your layout with even spacing along a clear, level route, ensuring solar panels face true south and get adequate sunlight daily. Mount lanterns securely, clean the solar panels regularly, and add creative touches like varied styles or staggered heights. Keep exploring to discover tips that make your pathway both functional and charming.
Key Takeaways
- Choose weather-resistant, stylish solar lanterns with sufficient brightness for safe pathway lighting during late-night gatherings.
- Space lanterns evenly along the pathway, ensuring they receive direct sunlight for optimal charging and glow.
- Position solar panels facing true south (or north in the southern hemisphere) and tilt them at your latitude for maximum efficiency.
- Regularly clean solar panels and lantern surfaces to maintain brightness and ensure reliable illumination.
- Incorporate varied lantern sizes, styles, or string lights to create a cozy, inviting atmosphere for nighttime social events.
Choosing the Right Solar Lanterns for Your Pathway

Choosing the right solar lanterns for your pathway begins with considering your specific lighting needs and the overall aesthetic you want to achieve. Think about how bright you want the pathway to be—do you need subtle illumination or more visibility for safety? Consider the style of lanterns that match your outdoor decor, whether modern, rustic, or vintage. Durability is essential, so look for lanterns made from weather-resistant materials to withstand rain and wind. Size matters too; choose lanterns that complement your pathway without overwhelming it. Also, check the brightness levels and rechargeable battery life to ensure they last through the night. Selecting the right solar lanterns involves balancing function, style, and durability for a pathway that’s both beautiful and practical. Additionally, understanding solar-powered lighting options can help you make informed choices about energy efficiency and long-term cost savings. Recognizing the importance of weather-resistant materials can further ensure your lanterns remain functional year-round, even in harsh conditions. When selecting lanterns, consider their light distribution to achieve even illumination along your pathway. A thorough understanding of portable lighting options can help you choose lanterns that are easy to move and adjust as needed. Furthermore, exploring different solar charging methods can improve the efficiency and reliability of your outdoor lighting.
Planning Your Pathway Layout and Design

Designing your pathway layout and design is a crucial step that influences both functionality and visual appeal. Start by mapping out the area, considering how people will use the space and where you want the lanterns to provide light. Decide on a clear, unobstructed route that guides guests naturally, avoiding sharp turns or uneven surfaces. Incorporate curves or straight lines based on your landscape and style preferences. Think about spacing: evenly distribute solar lanterns to create a balanced glow, but adjust if you want brighter spots or accents. Keep in mind the distance from trees, shrubs, or other obstacles that could cast shadows or block sunlight. A well-planned layout ensures your pathway is both attractive and practical for late-night gatherings. Utilizing predictive modeling can help optimize the placement for maximum efficiency and aesthetic appeal. Additionally, considering vibrational energy in your planning can enhance the overall ambiance and harmony of your outdoor space. Incorporating solar energy principles during the design phase can maximize the efficiency of your lanterns and prolong their illumination. Exploring unique and wicked planters can add creative accents along your pathway, making it more inviting and visually interesting. Engaging in organized planning can further streamline your installation process and ensure all elements work cohesively.
Gathering Materials and Tools Needed
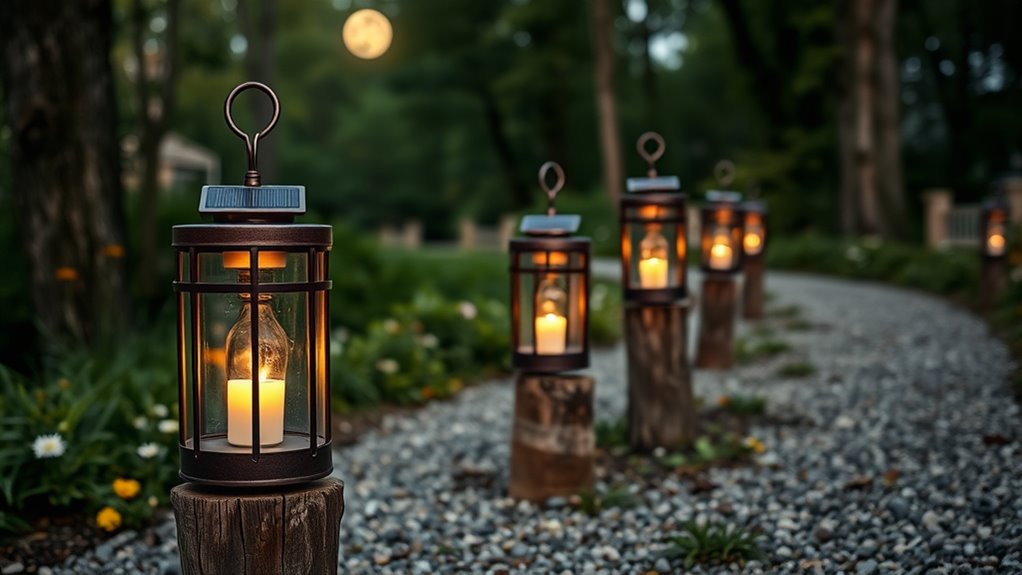
To successfully install your solar lantern pathway, you’ll need to gather all the necessary materials and tools beforehand. This guarantees a smooth process and avoids interruptions. First, gather your solar lanterns—make sure they’re rated for outdoor use and fully charged. Second, collect the essential tools: a shovel or trowel for soil and ground work, a level to keep your lanterns straight, and a measuring tape to space them evenly. Third, you’ll need some gravel or sand for base stabilization and possibly some waterproof connectors or extension cords if your lanterns require wiring. Having everything ready before you start saves time and keeps your project organized. Additionally, consider reviewing the privacy policy to understand how your data may be used during online research or purchasing. Ensuring proper solar technology compatibility can help maximize your lanterns’ performance and longevity once installed. Conducting a site assessment before beginning can help you identify potential issues with sunlight exposure and terrain. A well-planned layout can also contribute to the overall success of your solar pathway project. Being aware of the nutritional advantages of green juice can also be beneficial if you plan to incorporate healthy drinks during your gathering.
Preparing the Ground for Installation

Before installing your solar lanterns, you need to prepare the ground properly. Start by clearing the site of debris and uneven patches, then level the surface for stability. Additionally, cookie preferences should be considered to ensure a smooth setup process, as certain site preparations may require adjustments based on the environment. Incorporating knowledge about renewable energy sources can help you choose eco-friendly materials and methods for installation. Understanding positive thinking techniques can also assist you in maintaining patience and optimism throughout your project. Finally, mark the exact spots where you’ll position each lantern to guarantee a neat and functional pathway. Ensuring proper soil quality can promote better plant growth and overall landscape health, which may enhance the pathway’s appearance. Using a shower best modern toilet can also contribute to the overall bathroom upgrade, making your outdoor space even more inviting.
Clear the Installation Site
Have you checked the installation area for obstacles or uneven ground? Clearing the site ensures your solar lanterns stay secure and work efficiently. First, remove any rocks, sticks, or debris that could interfere with placement. Second, clear away overgrown grass or weeds to create a clean surface. Third, inspect for any holes or dips that might cause instability later on. Taking these steps prevents future issues like tilting or damage. A tidy, obstacle-free site also makes the installation process smoother and faster. Be thorough, and double-check the area before moving on to the next step. Proper ground preparation now will help your solar lantern pathway stay sturdy and functional for many late-night gatherings. Soil stability is crucial for ensuring the longevity of your solar lanterns and maintaining an even pathway.
Level the Ground Surface
Ensuring the ground is level is essential for a stable and secure installation. Start by removing debris, rocks, and uneven patches. Use a long, straight board and a spirit level to check for high and low spots. Fill in low areas with soil or sand, then compact the surface to prevent shifting. For uneven spots, add material and smooth it out. An even surface guarantees your solar lanterns stay upright and function properly.
| Step | Tool Needed | Tip |
|---|---|---|
| Clear debris | Rake, broom | Keep area tidy |
| Check level | Spirit level, board | Keep surface flat |
| Fill low spots | Soil or sand | Compact thoroughly |
| Smooth surface | Trowel or hand tamper | Prevent wobbling |
| Final check | Spirit level | Confirm evenness |
Mark Solar Lantern Positions
To prepare for installing your solar lanterns, you need to mark their positions accurately on the leveled ground. Proper placement ensures even illumination and easy access for maintenance. First, decide on the layout—whether straight, curved, or staggered—to suit your pathway. Next, measure and mark the spots where each lantern will go, keeping consistent spacing for uniform light distribution. Finally, double-check your marks from different angles, ensuring they align with your overall design. Here’s a quick guide:
- Choose a pattern that complements your landscape
- Mark each spot with a stake or spray paint
- Confirm spacing and alignment before proceeding
Taking these steps guarantees a professional look and ideal lighting for your late-night gatherings.
Installing Solar Lanterns Step-by-Step

To start installing your solar lanterns, you need to choose the right ones that suit your pathway and lighting needs. Next, follow proper installation techniques to guarantee they’re secure and function efficiently. I’ll walk you through each step to make the process straightforward and effective.
Selecting Suitable Lanterns
Choosing the right solar lanterns is essential for creating an effective pathway. To pick the best ones, consider these key factors:
- Brightness – Ensure the lanterns provide enough lumens to light your path safely.
- Size and Design – Choose compact, weather-resistant lanterns that fit your style and space.
- Battery Capacity – Opt for lanterns with larger batteries for longer illumination during cloudy days or extended evenings.
Look for solar panels that absorb sunlight efficiently and choose options with adjustable brightness settings. Think about the placement as well—select lanterns that can be easily installed along your pathway without obstructing walkways. Picking suitable lanterns guarantees your pathway is well-lit, safe, and inviting for late-night gatherings.
Proper Installation Techniques
Proper installation is key to ensuring your solar lanterns function effectively and last longer. First, choose a sunny spot free from shade, ideally where the lantern can get at least six hours of direct sunlight daily. Before mounting, clean the area and ensure the surface is level. If attaching to a stake, hammer it firmly into the ground, making sure it’s stable. For wall-mounted lanterns, use appropriate anchors and screws to secure them firmly. Position the solar panel facing south (or north if in the southern hemisphere) for maximum sun exposure. Avoid placing lanterns near trees, structures, or objects that could block sunlight. Check connections and ensure the solar panel is unobstructed after installation. Proper placement guarantees bright, reliable lighting during your late-night gatherings.
Tips for Optimal Sunlight Exposure
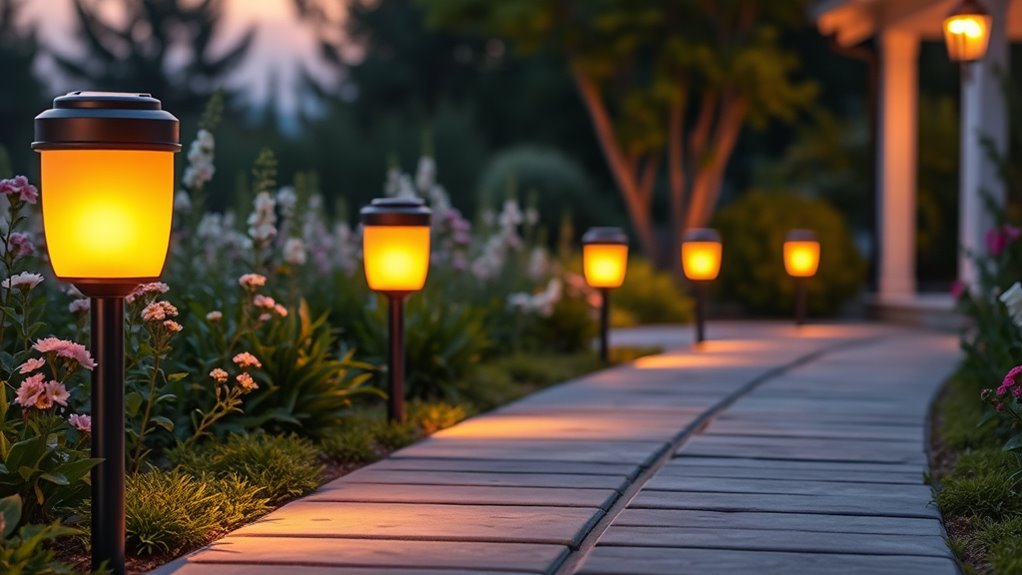
Making certain your solar lantern receives the maximum sunlight each day can considerably improve its performance. To do this, make sure to:
- Place it in an area with unobstructed sunlight, avoiding shade from trees or buildings.
- Position the solar panel facing true south (in the northern hemisphere) for ideal sun exposure.
- Tilt the panel at the correct angle—usually equal to your latitude—to maximize sunlight absorption.
Check that the panel isn’t covered by debris or dirt, as this can block sunlight. Avoid placing your lantern in shaded spots during peak sunlight hours. Regularly adjusting its position based on seasonal changes ensures it captures the most sunlight possible. With these simple tips, your solar lantern will shine brighter and last longer each night.
Maintaining and Cleaning Your Solar Lanterns

To keep your solar lanterns working efficiently, you need to establish a regular cleaning routine to remove dirt and debris from the panels. Proper battery maintenance, like checking and replacing batteries when needed, ensures consistent lighting. When not in use, store your lanterns properly in a cool, dry place to prevent damage and extend their lifespan.
Regular Cleaning Routine
Regularly cleaning your solar lanterns is essential to keep them functioning at their best. Dirt, dust, and debris can block sunlight, reducing their brightness and efficiency. To maintain peak performance, follow these simple steps:
- Wipe the Exterior: Use a soft cloth or sponge with mild soap and water to remove dirt and grime from the surface.
- Clean the Solar Panel: Gently wipe the panel with a damp cloth to ensure maximum sunlight absorption.
- Check for Obstructions: Remove leaves or debris around the lantern to prevent shading that can diminish the light output.
Battery Maintenance Tips
Keeping your solar lanterns in top shape also means paying attention to their batteries. Regularly check for corrosion or dirt on the battery contacts, as buildup can reduce efficiency. Clean contacts gently with a soft cloth or a brush dipped in vinegar or rubbing alcohol. Ensure the batteries are securely connected and replace them if they no longer hold a charge. Proper maintenance extends battery life and keeps your lanterns shining brightly. Here’s a quick reference:
| Battery Type | Cleaning Frequency | Replacement Tips |
|---|---|---|
| NiMH | Every 6 months | Use recommended voltage |
| Lithium-ion | Annually | Dispose of properly |
| Lead-acid | When performance drops | Keep terminals clean |
| Rechargeable | As needed | Check for swelling |
| Disposable | When dead | Replace promptly |
Proper Storage Methods
Proper storage is essential to guarantee your solar lanterns remain in good condition and function efficiently over time. When not in use, follow these steps to keep them in top shape:
- Clean thoroughly—wipe the solar panel and lantern body with a soft cloth to remove dust and dirt.
- Charge fully—store in a cool, dry place away from direct sunlight to preserve battery life.
- Protect from elements—keep lanterns indoors during harsh weather or winter months to prevent damage.
Creative Ways to Enhance Your Lighting Effect
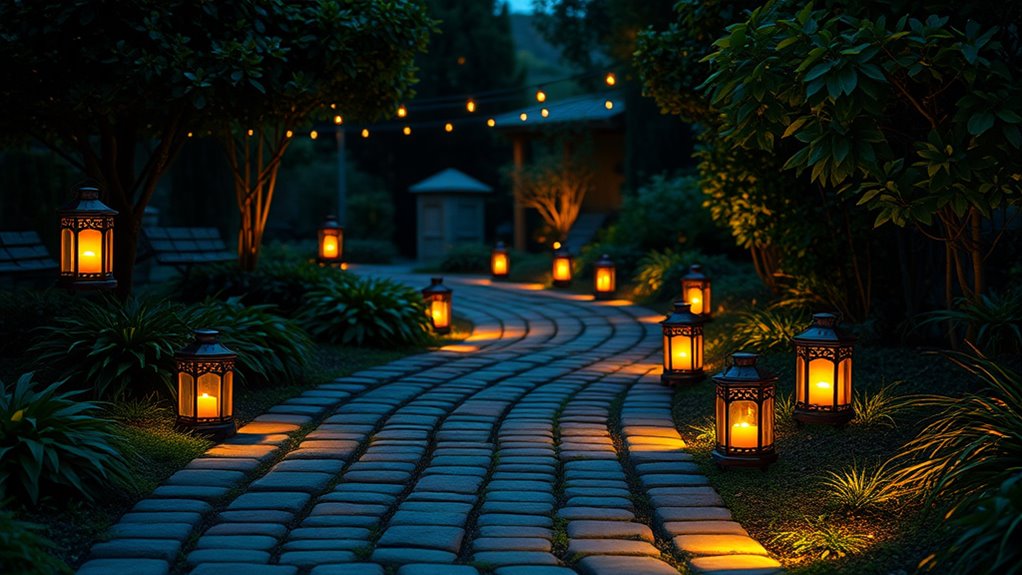
To make your solar lantern pathway truly stand out, consider incorporating varied lighting techniques that add depth and interest. You can stagger lantern heights by placing some on low stands or embedding them into the ground, creating a layered effect. Using different sizes and styles of lanterns can also add visual variety, making your pathway more dynamic. Incorporate string lights or fairy lights intertwined with the lanterns to produce a magical glow. For a more artistic touch, hang lanterns from trees or hooks along the path. Experiment with colored or patterned lantern covers to cast unique shadows and moods. By mixing these elements thoughtfully, you’ll craft an inviting, enchanting ambiance that elevates your late-night gatherings and showcases your creativity.
Troubleshooting Common Issues
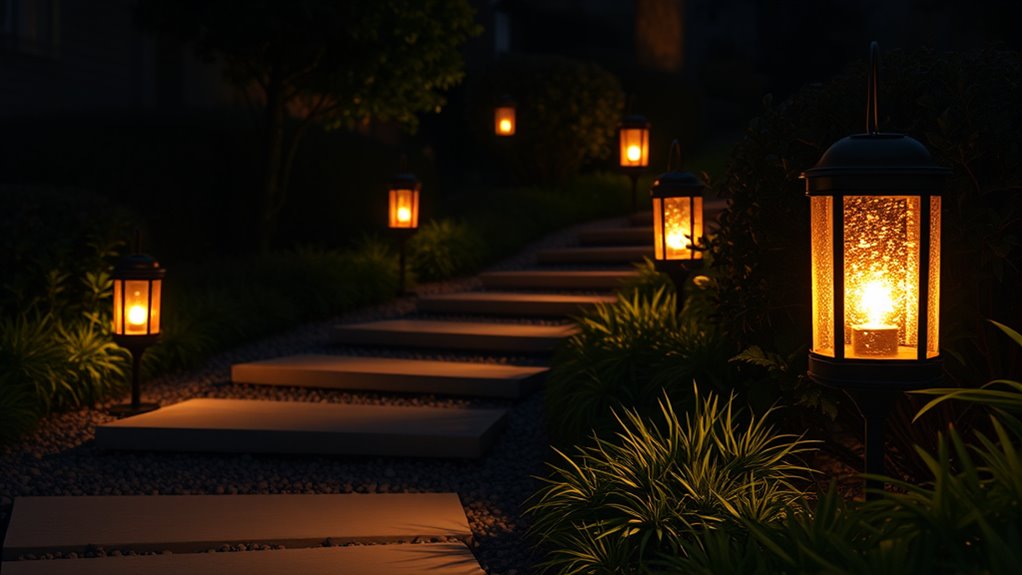
Even with careful planning, you might face common issues with your solar lantern pathway, like dim lighting or lanterns not charging correctly. Troubleshooting can help you identify and fix problems quickly. Here are three common causes:
Even with careful planning, solar lanterns may face issues like dim light or charging problems—regular maintenance keeps your pathway bright.
- Insufficient sunlight exposure – Make sure your lanterns are placed where they receive direct sunlight for at least 6 hours daily.
- Dirty or damaged solar panels – Clean the panels regularly and check for cracks or corrosion that could hinder charging.
- Faulty batteries – Replace batteries if they no longer hold a charge or are swollen.
Addressing these issues often restores proper function. Keep an eye on placement, cleanliness, and battery health to guarantee your pathway remains bright and functional for your late-night gatherings.
Incorporating Solar Lanterns Into Your Garden Decor

Adding solar lanterns to your garden decor effortlessly transforms your outdoor space into a charming, inviting environment. You can place them along pathways, near seating areas, or around flower beds to create a warm, ambient glow. Choose lantern styles that complement your existing decor, whether modern, rustic, or eclectic. Position them where they’ll receive ample sunlight during the day to guarantee they shine brightly at night. Mix and match different sizes and shapes for visual interest. Solar lanterns are versatile and low-maintenance, so you can easily move them around to refresh your garden’s look. Incorporating these lanterns adds not just light but personality and charm, making your garden a perfect setting for evening gatherings or quiet nights outdoors.
Frequently Asked Questions
How Long Do Solar Lantern Batteries Typically Last?
Solar lantern batteries usually last between 1 to 3 years, depending on usage and quality. You should expect them to need replacement or recharge after this period. To extend their lifespan, avoid leaving the lantern in direct sunlight constantly and store it properly when not in use. Regularly check the batteries for signs of wear or corrosion, and replace them as needed to keep your lantern shining brightly during late-night gatherings.
Can Solar Lanterns Withstand Harsh Weather Conditions?
Think of your solar lantern as a brave knight facing the storm. While modern designs often include weatherproof features like sealed casings and durable materials, not all are equally resilient. You need to choose lanterns with high IP ratings for water and dust resistance. Properly maintained, they can withstand harsh weather, but extreme conditions may still challenge their durability. So, select wisely and protect your lanterns to keep their light shining through storms.
Are There Eco-Friendly Alternatives to Traditional Solar Lanterns?
You’re curious if eco-friendly alternatives to traditional solar lanterns exist. Yes, they do! You can choose lanterns made from sustainable materials like bamboo or recycled plastics, which reduce environmental impact. Some use biodegradable components or are designed with minimal energy use. By selecting these options, you support eco-conscious living, helping to preserve the planet while enjoying functional lighting for your late-night gatherings.
How Do I Prevent Animals From Damaging the Solar Lights?
While the idea of protecting your solar lights might seem mundane, it’s essential for their longevity. You can prevent animals from damaging them by installing physical barriers like fencing or wire cages around each light. Using animal deterrents, such as motion-activated sprinklers or natural repellents, helps keep curious creatures at bay. Regularly inspecting and maintaining the lights guarantees they stay functional, allowing your pathway to shine brightly through every night.
Can Solar Lanterns Be Adjusted for Different Brightness Levels?
You can adjust the brightness of solar lanterns if they have a dimming feature or adjustable settings. Check the manufacturer’s instructions, as some lanterns come with a switch or buttons to change brightness levels. If your lanterns don’t have this feature, consider replacing the bulbs with dimmable ones or using a cover to diffuse the light. These options help you customize brightness for your needs.
Conclusion
By choosing the right solar lanterns and thoughtfully installing them, you can create a magical pathway for late-night gatherings. Imagine hosting a cozy outdoor dinner where your newly lit pathway guides guests safely and beautifully. Just like Sarah, who transformed her backyard into a welcoming oasis, you too can enjoy warm, eco-friendly illumination that enhances your outdoor experience. With simple maintenance and a bit of creativity, your solar lantern pathway will become a cherished feature for years to come.


